Solution
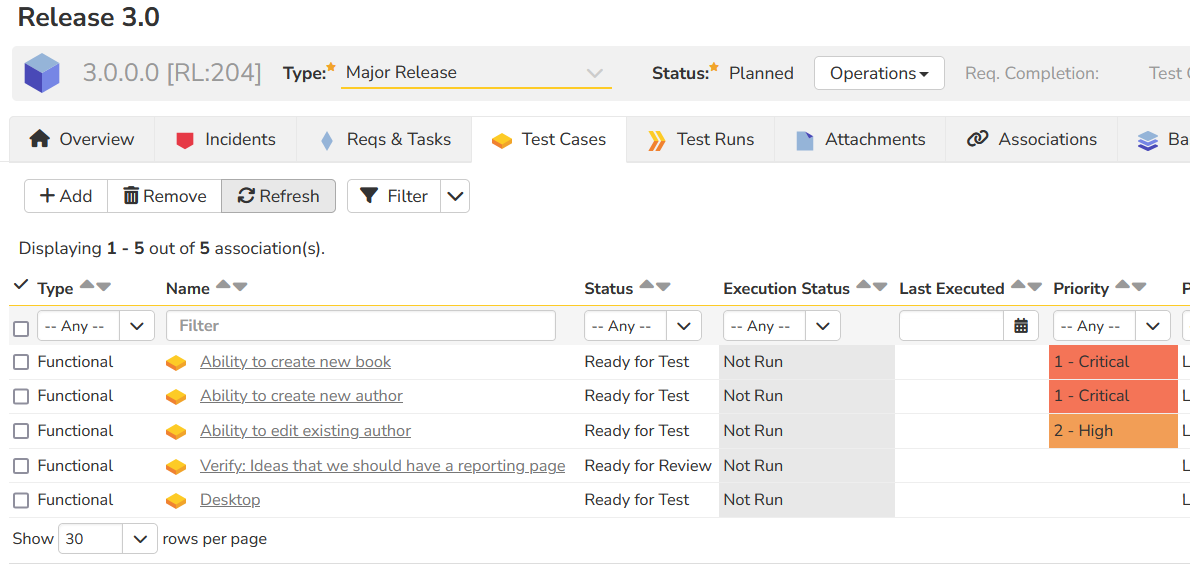
Consider the situation where you have a test set in Spira that already has test cases associated with it:
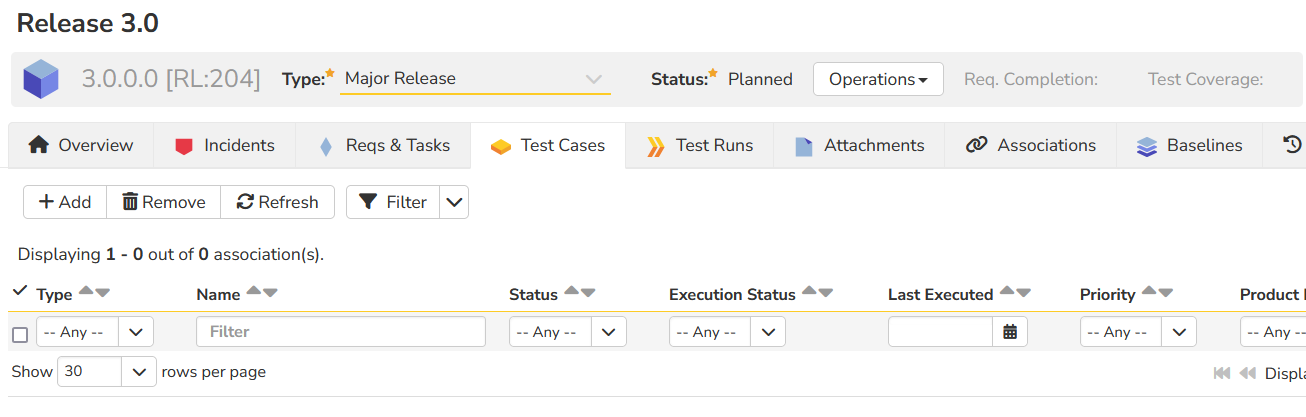
Now you create a brand new Release (e.g. Release 3.0) that has no test cases associated:
To quickly add all the test cases, you simply need to perform two steps:
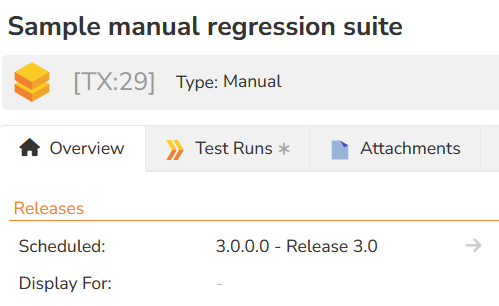
Step 1 - Associate the Test Set with the New Release
Click on the test set in question and change its Scheduled Release, then click Save:
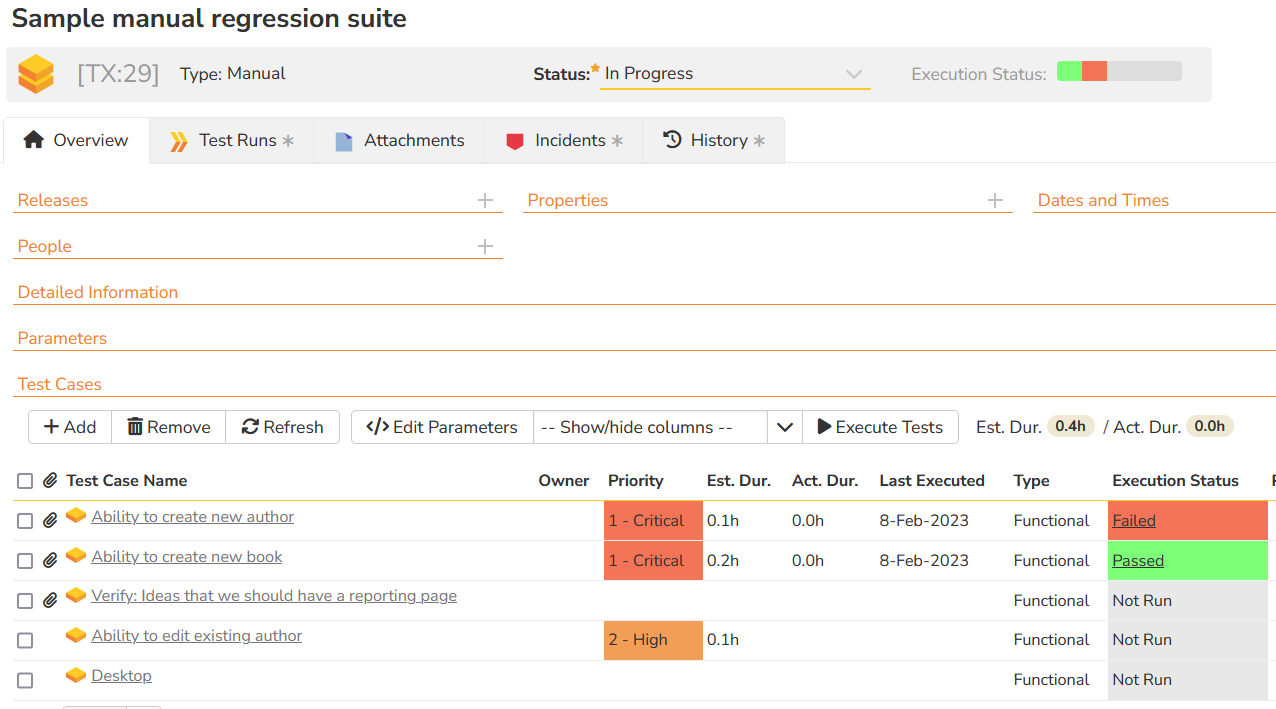
Step 2 - Click the Execute button on the test set
Now click, the Execute button the test set and wait for the modal dialog box to finish:
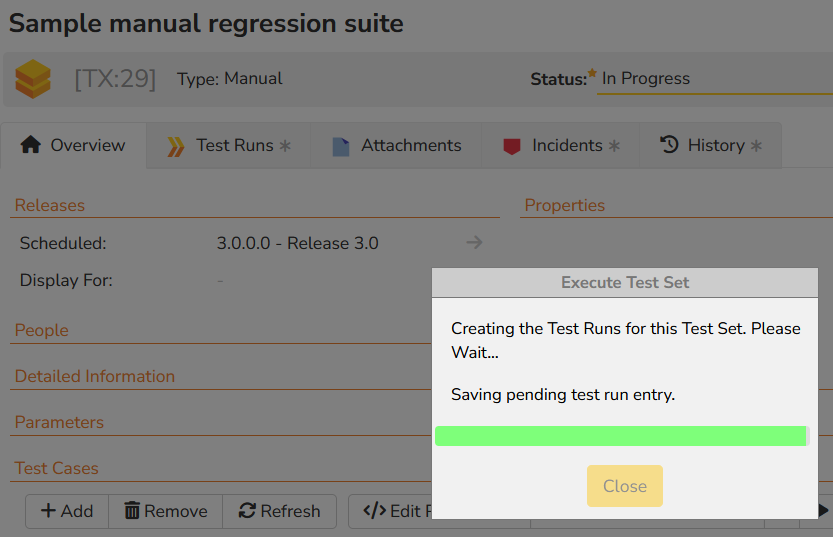
Now simply, ignore the execution and click Cancel to return back to the Test Set.
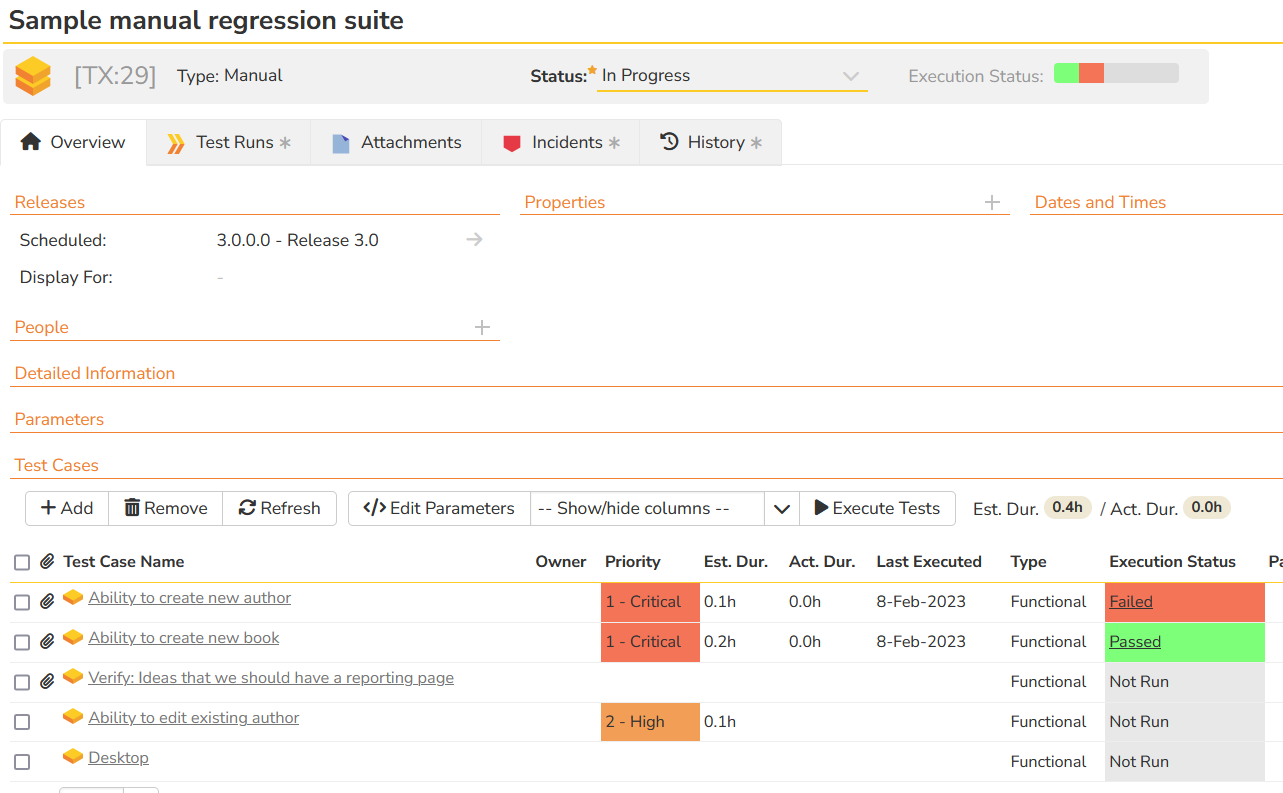
Now, when you go to the new Release, you will see all of the test cases added: