Background
In [KB726] we explain how to extract Names of multi-select custom property values. The same can be done using OData (SpiraPlan only).
In this example, we are creating a product report that shows its custom properties. The same principles can be used for product level artifacts.
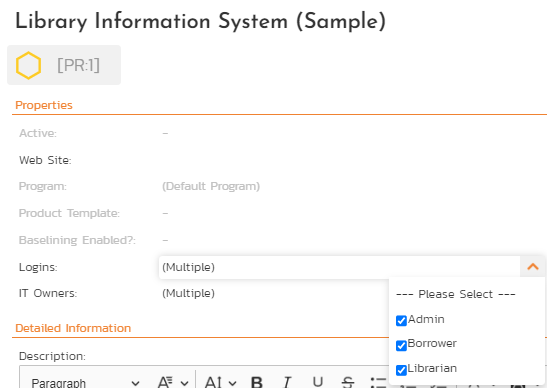
First, create a System Property with multi-select custom list option. Set its value for at least one product:
Here you can see that three options have been selected for "Logins":
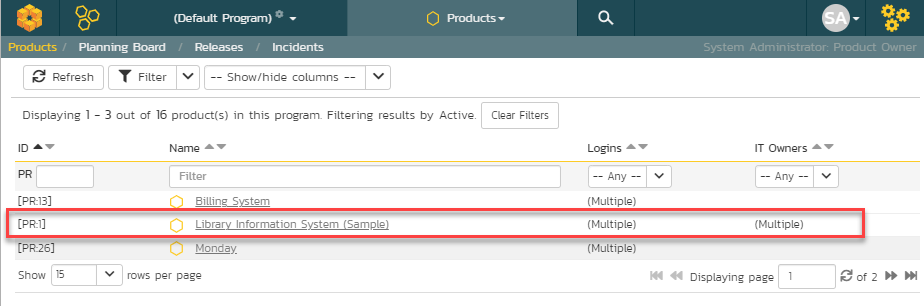
However, the custom report view for products extracts the custom properties raw IDs - not the names:

Solution
Load the data
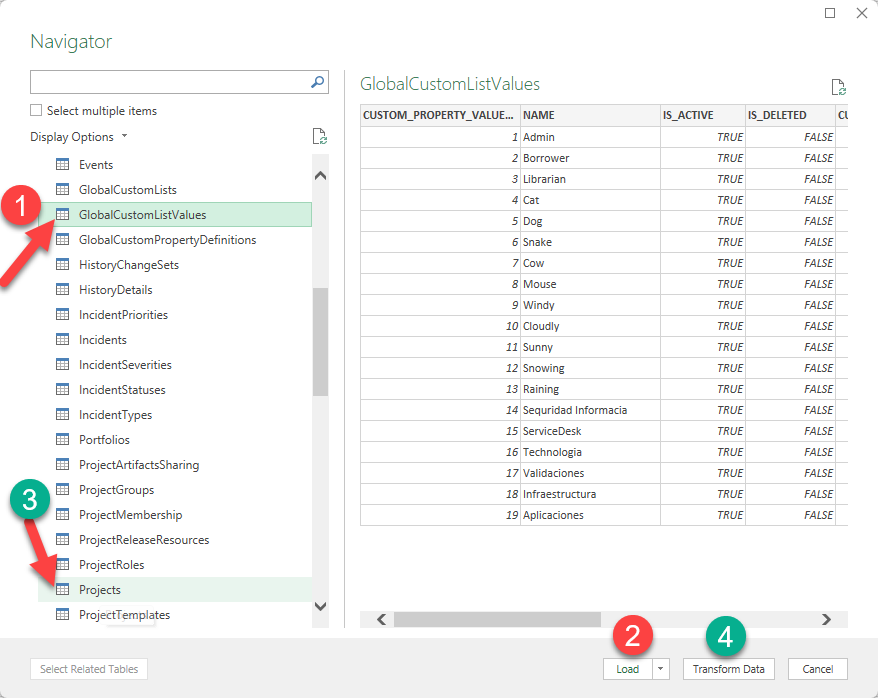
To extract the names from multi-select list values, we would need to import two tables: Projects and GlobalCustomListValues:
1. Connect Excel and SpiraPlan (more details can be found here)
2. Choose the necessary tables from the left side:
Click on the GlobalCustomListValues and then Load. You will see the table in your Excel worksheet.
Go to Data -> Recent Sources and then choose Projects - click Transform
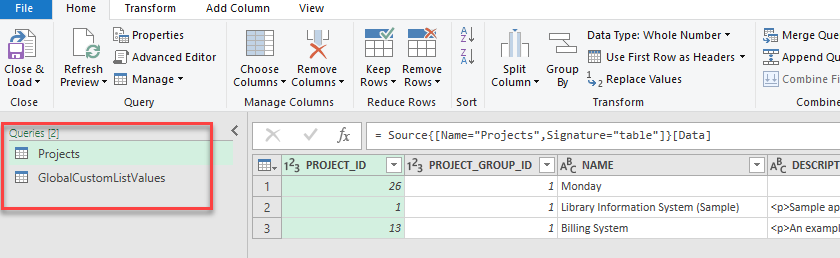
You should get both tables loaded into the Power Query editor window:
We will perform three steps on our reports:
- Split each custom property multi select list column
- Match the ID up to the value
- Merge it back together.
1. Split up the columns
As you can see, the Projects table has a lot of different columns containing. For this article we deleted some columns to make it easier.
1. Open Power Query editor page and select Project table;
2. Select Cust_O1 column;
3. Click Split Column at the ribbon
4. Choose By Delimiter option and then click OK;
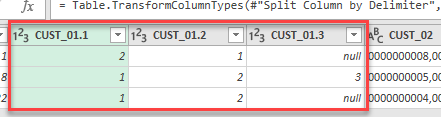
This will give us a 3 new columns (due to have 3 items in the cell). In case the list items will be more - the number of columns will be increased accordingly.
The caption of the new columns derivate from the parent column (in this case CUST_01.1, CUST_01.2 and CUST_01.3).
If you look closer the values are now presented as numbers, without leading zeros:
2. Matching values with names
Now its time to match the split columns with a real names of the values. Note: this is the only step you need to take if you are working with single select custom properties (and only once per custom property)
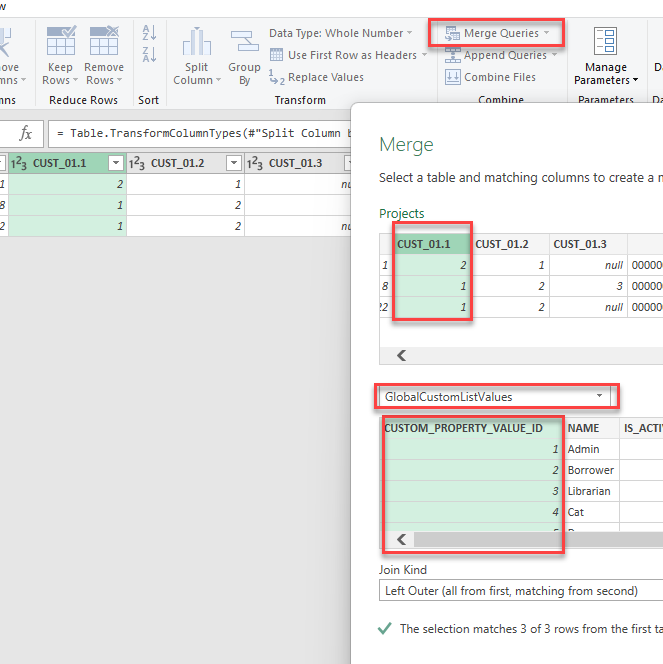
1. Click on Merge Queries at the Power Query Editor ribbon;
2. Select the CUST_01.1 column in the first box;
3. Choose the GlobalCustomPropertyValues table from the dropdown;
4. Select the Custom_Property_Value_ID from the second box;
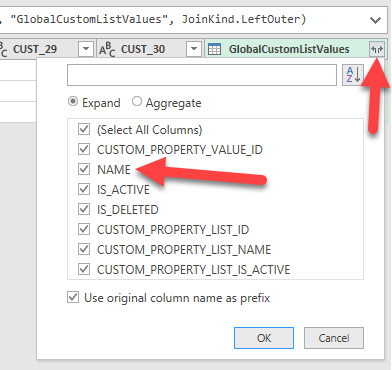
After you click OK the other column appears in the end of the Project table - GlobalCustomListValues.
Click on the filtering option so to select Names:
After doing this for all 3 columns we'll have something similar to the below screenshot (name columns were moved manually):

Now we can group the 'name' columns together or just delete the CUST_01.1/2/3 columns to keep all three columns with names together.
3. Merging the columns
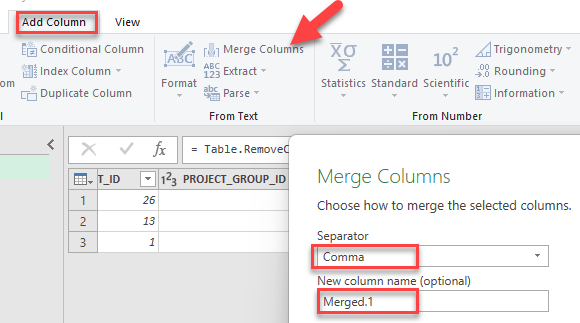
Select all 3 columns with names of values using Shift.
Go to Add Column tab on the Power Query Editor ribbon and choose Merge Columns, use a separator (comma) and optionally - name the new column:
After merging we will have

Finally, click Load & Close button to get all the information into Excel:
