Preconditions
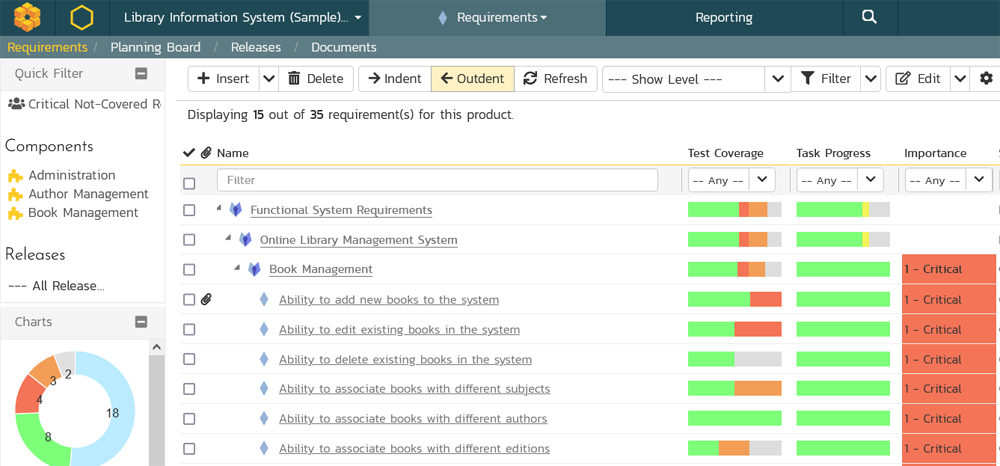
In order to use this report, it assumes that you have already some requirements in your SpiraPlan product:
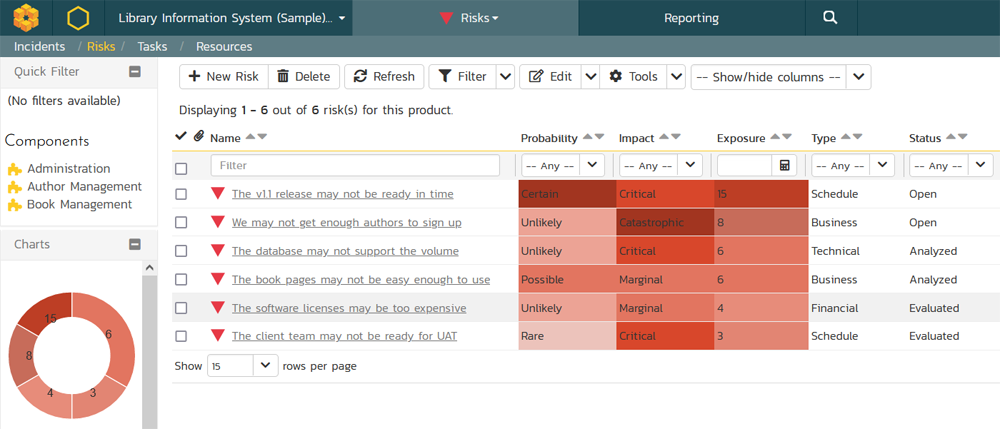
It also assumes you have some risks in your SpiraPlan product:
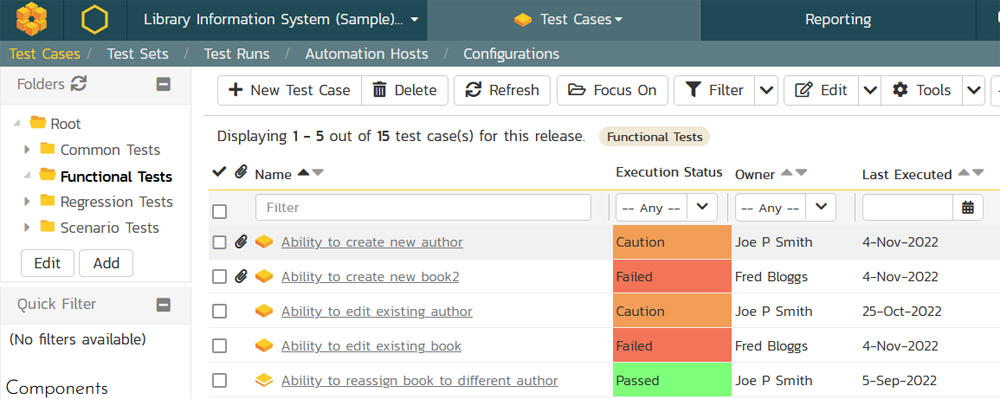
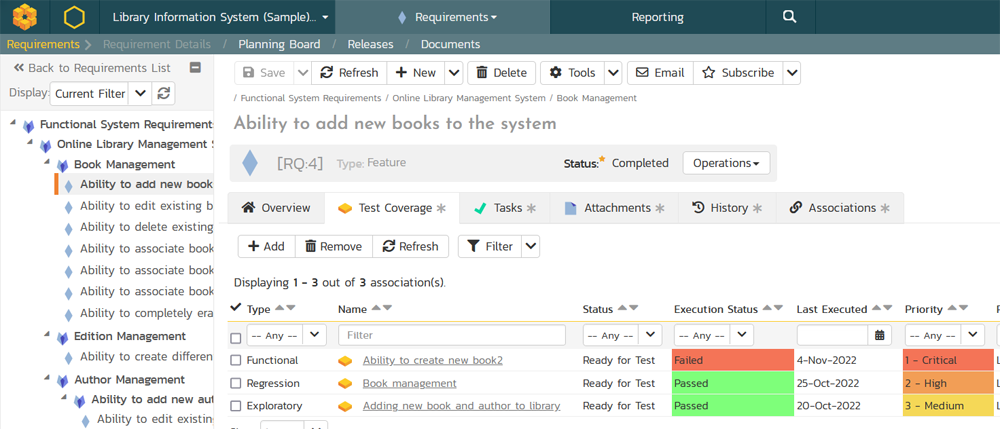
It also requires that you have some test cases in your product:
and that those are also mapped to the requirements:
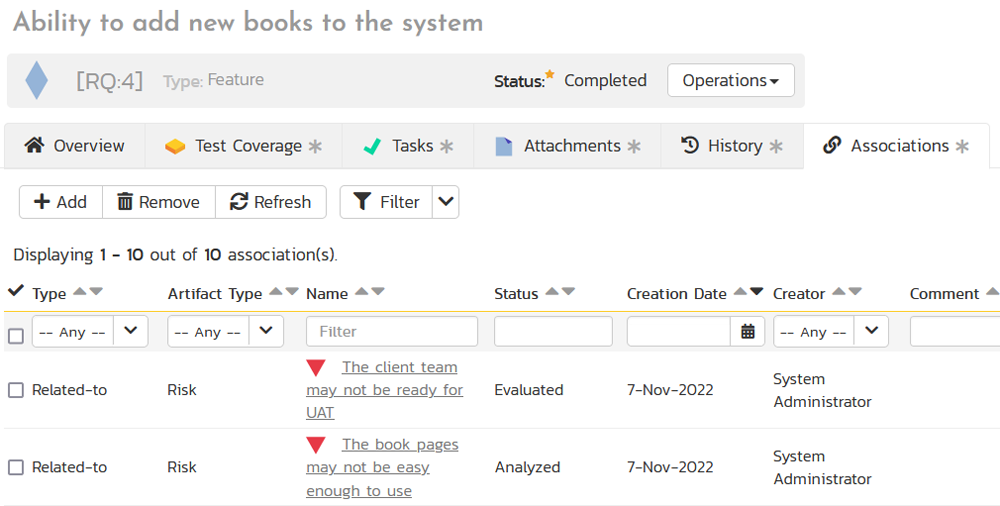
and finally, that you have mapped some of the requirements to risks (and/or vice-versa):
Creating the Custom Report
With the necessary data in place, simply create a new custom report, choosing the following options:
- Name: Test Case - Aggregate Risk Exposure
- Category: Test Cases
- Format(s):
- HTML
- Excel (printable)
- Word (current)
- PDF
Then add a custom section to this report, with the following query and template:
Report Query
select R.TEST_CASE_ID, R.TEST_CASE_NAME, sum(R.RISK_EXPOSURE) as RISK_EXPOSURE
from
((select TC.TEST_CASE_ID, TC.NAME as TEST_CASE_NAME, RK.RISK_ID, RK.NAME as RISK_NAME, RK.RISK_IMPACT_NAME, RK.RISK_PROBABILITY_NAME, RK.RISK_EXPOSURE
from SpiraTestEntities.R_TestCases as TC
left join SpiraTestEntities.R_RequirementTestCases as RT on TC.TEST_CASE_ID = RT.TEST_CASE_ID
left join SpiraTestEntities.R_ArtifactAssociations as AA on RT.REQUIREMENT_ID = AA.SOURCE_ARTIFACT_ID and AA.SOURCE_ARTIFACT_TYPE_ID = 1
left join SpiraTestEntities.R_Risks as RK on AA.DEST_ARTIFACT_ID = RK.RISK_ID and AA.DEST_ARTIFACT_TYPE_ID = 14
where TC.PROJECT_ID = ${ProjectId}
and TC.IS_DELETED = false)
union
(select TC.TEST_CASE_ID, TC.NAME as TEST_CASE_NAME, RK.RISK_ID, RK.NAME as RISK_NAME, RK.RISK_IMPACT_NAME, RK.RISK_PROBABILITY_NAME, RK.RISK_EXPOSURE
from SpiraTestEntities.R_TestCases as TC
left join SpiraTestEntities.R_RequirementTestCases as RT on TC.TEST_CASE_ID = RT.TEST_CASE_ID
left join SpiraTestEntities.R_ArtifactAssociations as AA on RT.REQUIREMENT_ID = AA.DEST_ARTIFACT_ID and AA.DEST_ARTIFACT_TYPE_ID = 1
left join SpiraTestEntities.R_Risks as RK on AA.SOURCE_ARTIFACT_ID = RK.RISK_ID and AA.SOURCE_ARTIFACT_TYPE_ID = 14
where TC.PROJECT_ID = ${ProjectId}
and TC.IS_DELETED = false)) as R
group by R.TEST_CASE_ID, R.TEST_CASE_NAME
order by RISK_EXPOSURE desc
Report Template
For the report template, we added some additional logic into the XSLT:
- If the Risk Exposure is > 0 and < 10, it will be shaded yellow.
- If the Risk Exposure is >= 10 and < 20, it will be shaded orange.
- If the Risk Exposure is >= 20, it will be shaded red.
Click Save on the popup, and Save on the main report page. The report is now ready to use.
<?xml version="1.0" encoding="utf-8"?>
<xsl:stylesheet version="1.0" xmlns:xsl="http://www.w3.org/1999/XSL/Transform" xmlns:msxsl="urn:schemas-microsoft-com:xslt" exclude-result-prefixes="msxsl">
<xsl:template match="/RESULTS">
<table class="DataGrid"><tr><th>Test Case ID</th><th>Test Case Name</th><th>Risk Exposure</th></tr>
<xsl:for-each select="ROW">
<tr>
<td>TC:<xsl:value-of select="TEST_CASE_ID"/></td>
<td><xsl:value-of select="TEST_CASE_NAME"/></td>
<xsl:choose>
<xsl:when test="RISK_EXPOSURE > 0 and RISK_EXPOSURE < 10">
<td style="background-color: yellow"><xsl:value-of select="RISK_EXPOSURE"/></td>
</xsl:when>
<xsl:when test="RISK_EXPOSURE >= 10 and RISK_EXPOSURE < 20">
<td style="background-color: orange"><xsl:value-of select="RISK_EXPOSURE"/></td>
</xsl:when>
<xsl:when test="RISK_EXPOSURE >= 20">
<td style="background-color: red"><xsl:value-of select="RISK_EXPOSURE"/></td>
</xsl:when>
<xsl:otherwise>
<td><xsl:value-of select="RISK_EXPOSURE"/></td>
</xsl:otherwise>
</xsl:choose>
</tr>
</xsl:for-each>
</table>
</xsl:template>
</xsl:stylesheet>
Running the Report
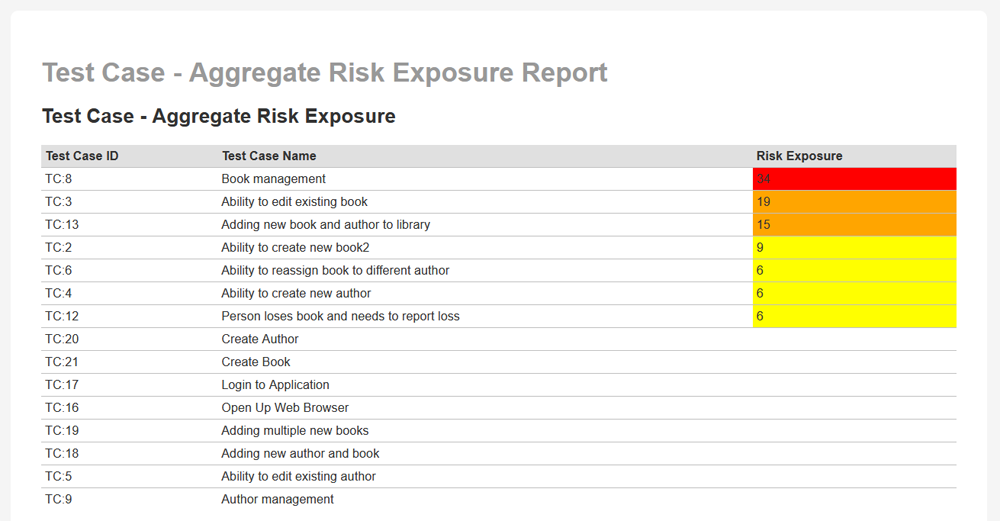
Now that you have created the report, go to the main Reports tab and choose to run the report in one of the supported formats. You will now see the following:
| est Case ID | Test Case Name | Risk Exposure |
|---|
| TC:8 | Book management | 34 |
| TC:3 | Ability to edit existing book | 19 |
| TC:13 | Adding new book and author to library | 15 |
| TC:2 | Ability to create new book2 | 9 |
| TC:6 | Ability to reassign book to different author | 6 |
| TC:4 | Ability to create new author | 6 |
| TC:12 | Person loses book and needs to report loss | 6 |
| TC:20 | Create Author | |
| TC:21 | Create Book | |
| TC:17 | Login to Application | |
| TC:16 | Open Up Web Browser | |
| TC:19 | Adding multiple new books | |
| TC:18 | Adding new author and book | |
| TC:5 | Ability to edit existing author | |
| TC:9 | Author management | |
which will render something like: