In this article, you will learn how to:
- Parameterize the test environment URL
- Parameterize user account credentials
- Override playback speed and other global parameters
- Perform data binding for data-driven tests
Parameterizing Environment URL
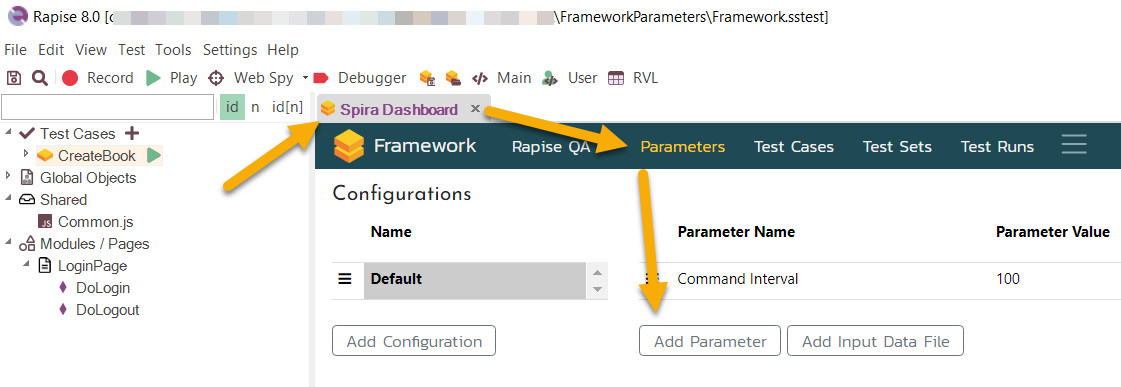
To create a parameter, go to the Parameters tab on the Spira Dashboard and click the Add Parameter button.
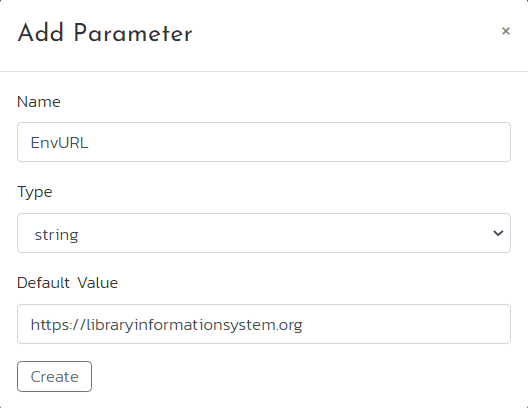
Complete the form and click the Create button.
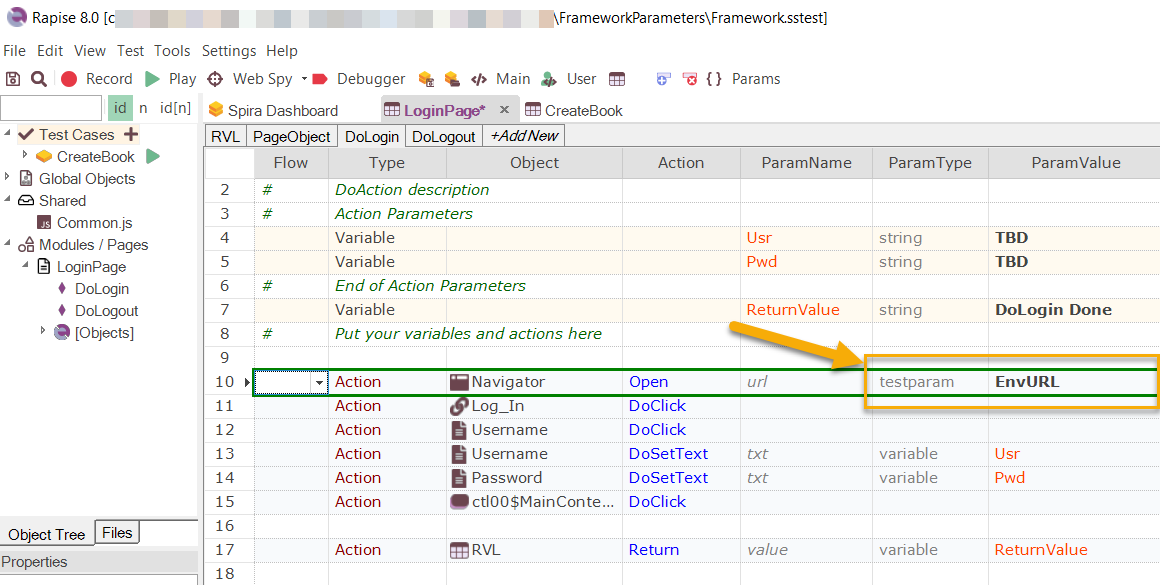
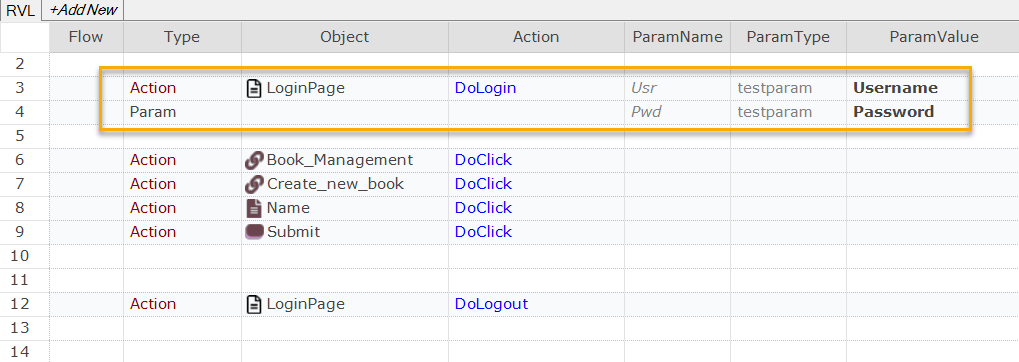
You can now utilize the parameter within your test cases and modules. In this particular scenario, we will make use of the EnvURL parameter within the DoLogin action of the LoginPage module.
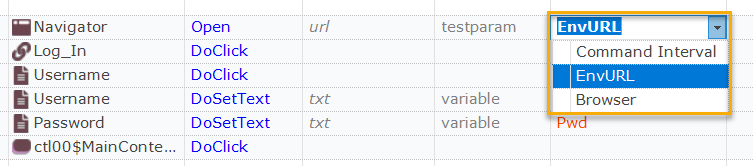
When you change the ParamType of an action parameter to testparam, please note that the ParamValue dropdown will automatically populate with all the available test parameters.
Configuring Test Sets
We now have the ability to create separate configurations for each testing environment and assign environment-specific EnvURLs. To proceed, let's navigate back to the Parameters tab on the Spira Dashboard and create three configurations by utilizing the Add Configuration button.
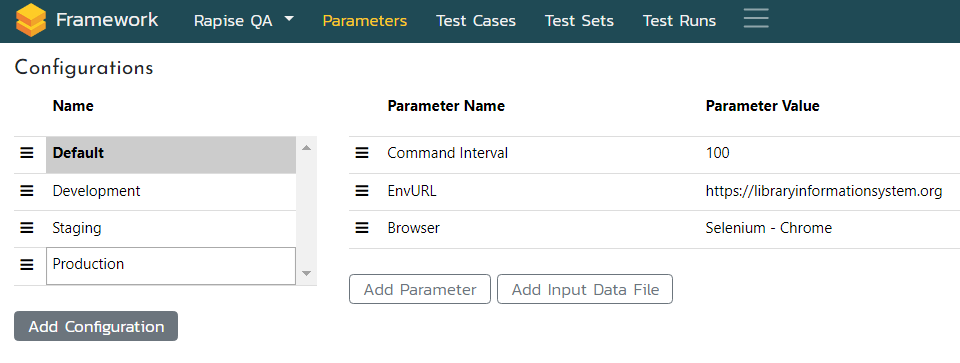
To modify the URL for a specific configuration, follow these steps: select the desired configuration, double-click on the parameter value, make the necessary changes, and press the enter key. If a parameter value differs from the default one, it will be displayed in bold font to indicate the variation.
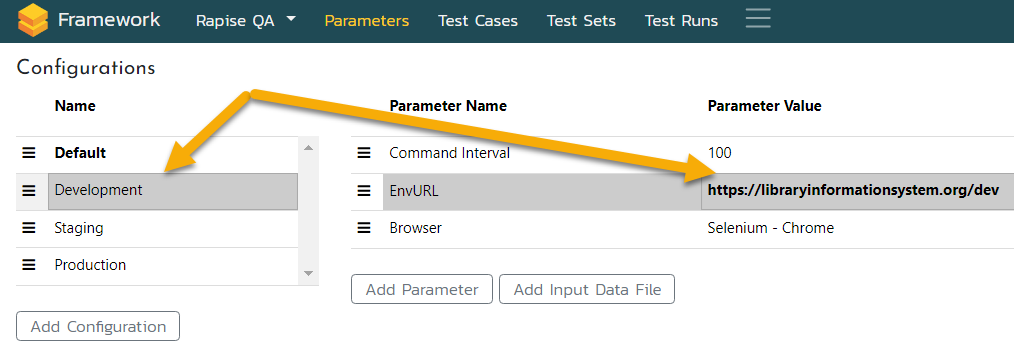
The primary function of a Configuration is to associate it with a Test Set. When executing a Test Set, the test cases within it utilize the parameter values defined in the associated Configuration. For instance, if the Default test set is linked to the Development configuration and a test case included in this test set references the EnvURL parameter, the value of the parameter will be https://libraryinformationsystem.org/dev.
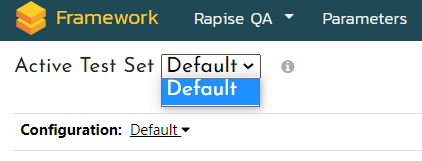
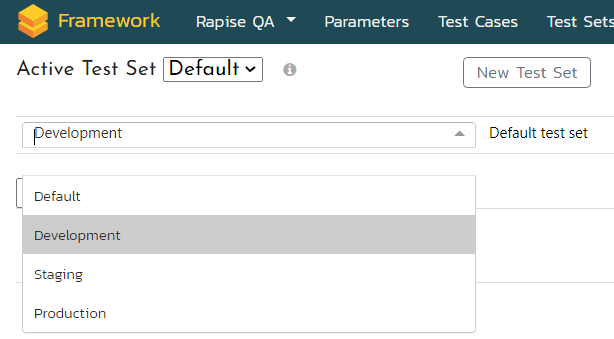
To link a Configuration with a Test Set, follow these steps: access the Framework tab on the Spira Dashboard, select the desired Test Set, expand the Configuration dropdown, and choose the appropriate configuration from the available options.
Changing Parameters for Local Execution
If you need to quickly modify parameter values for a local run of a test case, there is a convenient method available. Begin by selecting the desired test case and clicking on the Play button located on the main toolbar. This action will prompt the Choose Test Case dialog to appear, allowing you to modify the parameter values as needed.
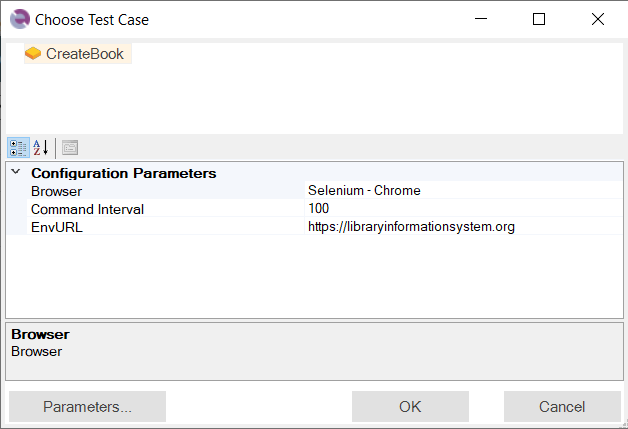
Once you have made the desired changes, click OK to execute the test case. The parameter values are stored in the LastConfig.json.user file, which can be found in the root folder of the framework. The contents of this file resemble the following JSON structure:
{
  "Browser": "Selenium - Chrome",
  "Command Interval": 100,
  "EnvURL": "https://libraryinformationsystem.org"
}
It's worth noting that the last-used parameter values are automatically remembered. Therefore, when you click Play again, you will see the previously utilized parameter values.
Passing User Login Credentials
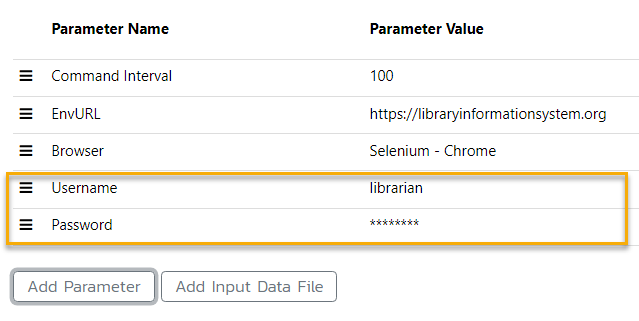
Now, let's proceed with creating two additional parameters: Username and Password. When setting up the Password parameter, make sure to select password as the parameter type. This selection ensures that the password value is encrypted and masked for security purposes.
Utilize the parameters in the same manner as we did with EnvURL.
Changing Global Parameters
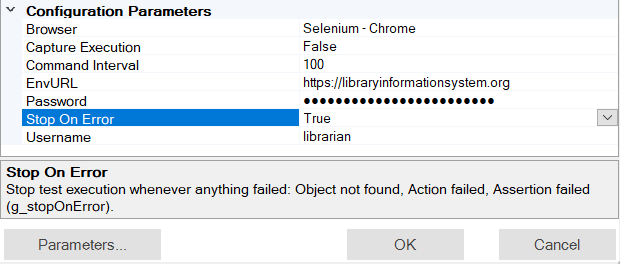
In addition to the test-specific parameters, there are several global parameters that can be added to Configurations and modified for local execution. To access these parameters, click the Parameters... button in the Choose Test Case dialog.
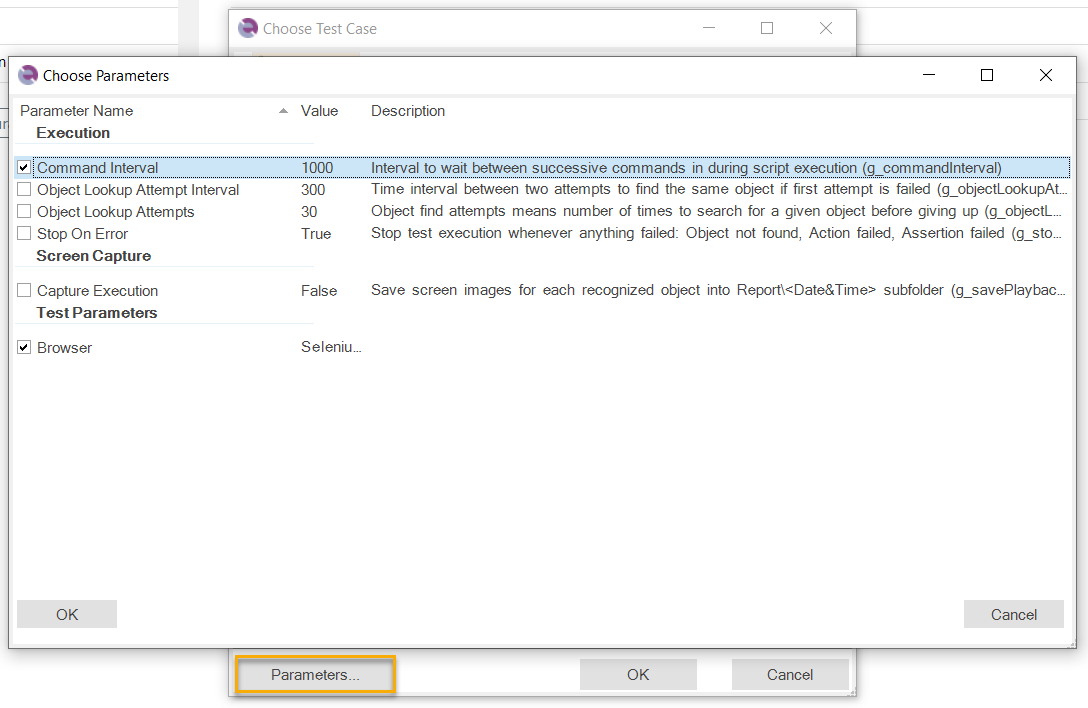
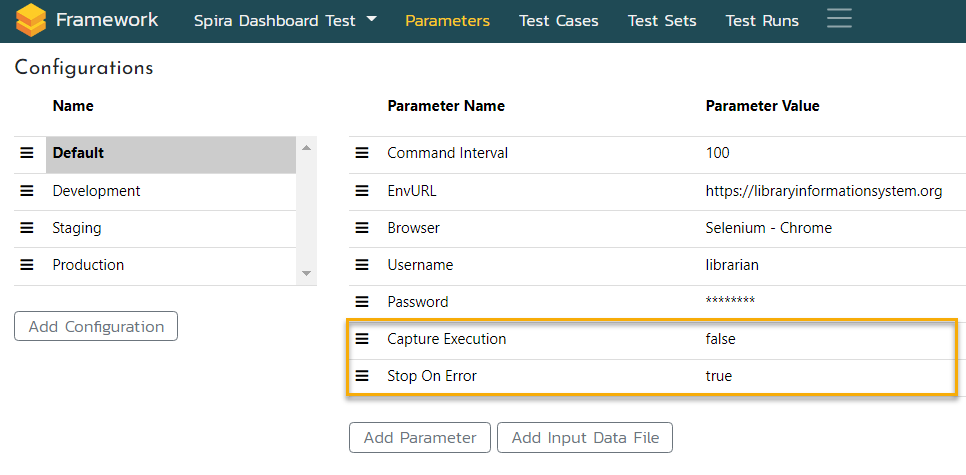
In the parameter selection window, you can choose the desired parameters by checking the corresponding checkboxes. Let's apply this approach to the Stop On Error and Capture Execution parameters. Once you click OK, these parameters will appear in the property grid, allowing you to modify their values globally.
Furthermore, it is possible to set specific parameter values for each configuration if needed.
Data-Driven Testing
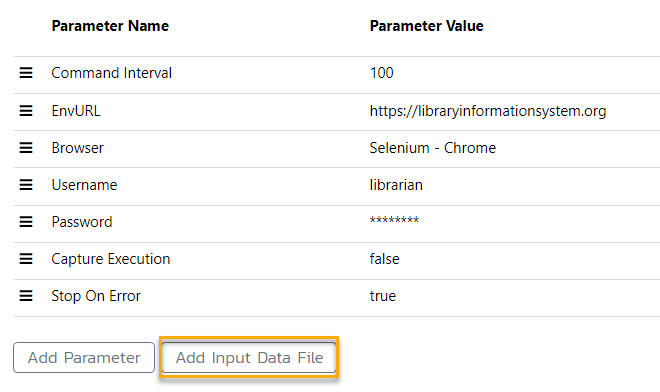
In some cases, it may be necessary to execute the same test cases with different input data, such as different user logins. To achieve this, let's define a user login list (assuming all testing users share the same password). On the Parameters tab of the Spira Dashboard, click the Add Input Data File button.
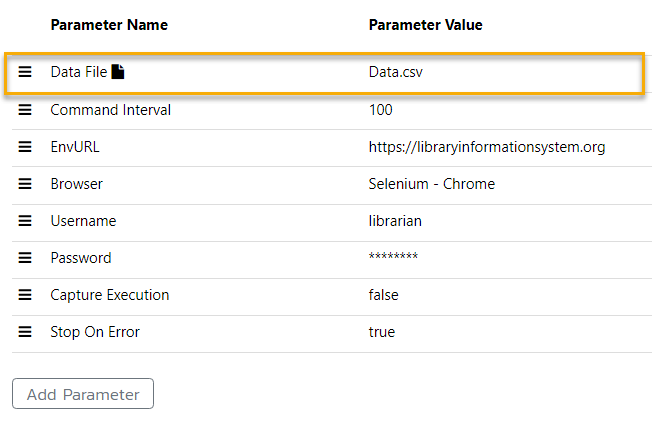
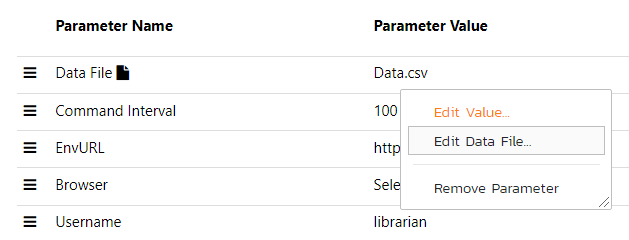
This will add the Data File parameter with the value set to Data.csv.
Right-click on Data.csv and choose the Edit Data File... option from the popup menu.
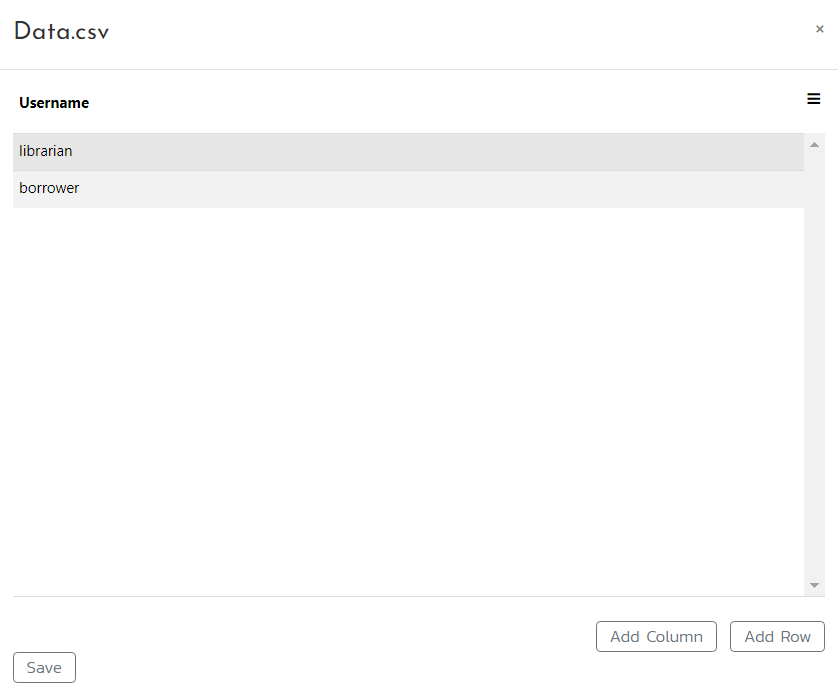
This will open the CSV Editor, which allows you to define columns and their corresponding values. Click the Save button when you have finished defining the data.
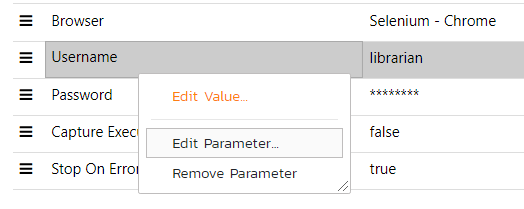
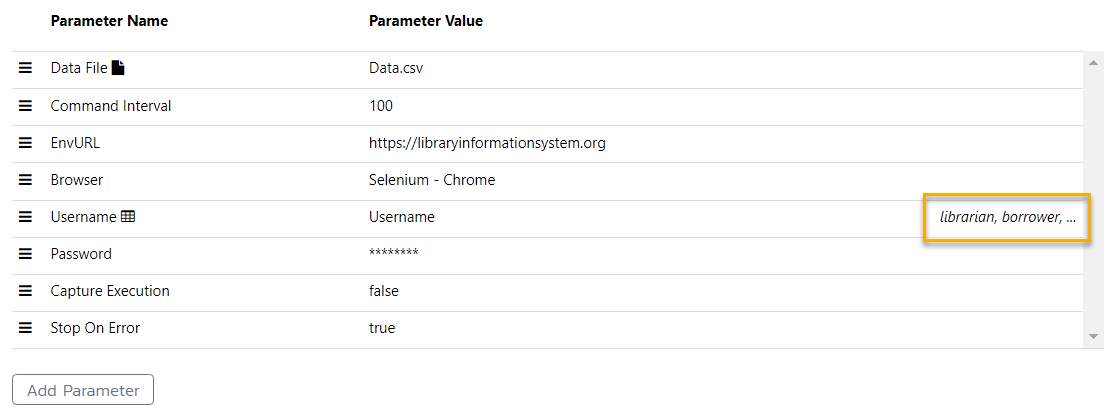
To bind the Username column from Data.csv to the Username parameter, follow these steps: right-click on the Username parameter and select Edit Parameter....
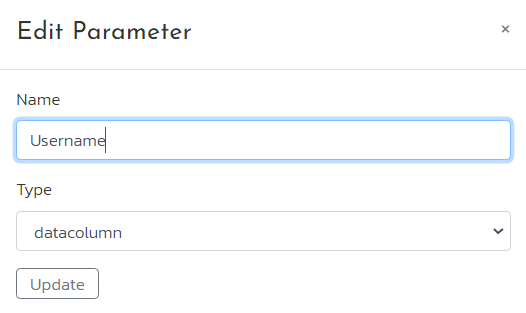
Then, change the parameter type to datacolumn and click on Update.
By default, Rapise will automatically link the parameter to the column with a matching name. If you wish to modify this, simply double-click on the parameter value and select a different column name from the dropdown list. Once a parameter is linked to a data column, you can view its first several values in the table.
When running a test set, each test case will be executed multiple times, once for each user login, based on the parameter values from the data column.