Step 1
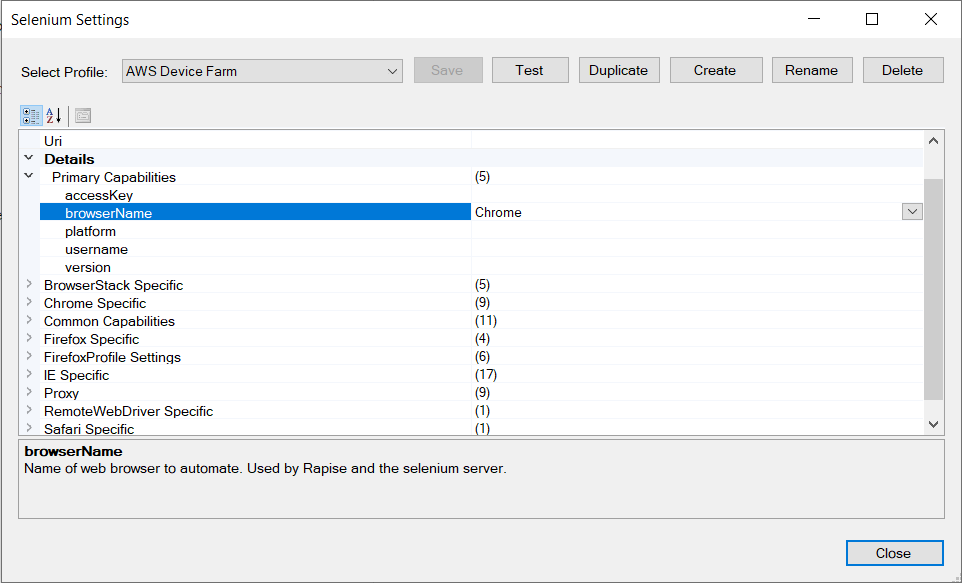
Create a Selenium Profile that you will use to run tests on AWS Device Farm.
Let's give it a name `AWS Device Farm`.

The profile can be empty, just specify `browserName`.
Step 2
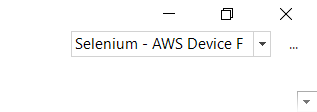
Select this profile in your test.

Step 3
Place the following function to your User.js file.
function GetWebDriverNonProfileCapabilities(profile)
{
	var caps = {};

	// set capabilities based on profile name
	if (profile == "AWS Device Farm")
	{
		if(typeof(g_amazonWrapper)=="undefined")
		{
			g_amazonWrapper = new ActiveXObject("SeSWrappers.AmazonWrapper");
		}

		var projectArn = "arn:aws:devicefarm";
		var timeout = 600;
		var region = "us-west-2";
		var awsAccessKey = "";
		var awsSecretAccessKey = "";

		var url = g_amazonWrapper.AwsCreateTestGridUrl(projectArn, timeout, region, awsAccessKey, awsSecretAccessKey);
		caps["Uri"] = url;
	}
    return caps;
}
Provide your own values for the following variables.
projectArn
Open your project and copy/paste the required value into the function.

timeout
This is the time in seconds for which you will reserve the Selenium Grid url. It should be enough to execute your test.
region
String representation of a region where you want to run your tests.
awsAccessKey, awsSecretAccessKey
You may assign the access keys right in the function or create system environment variables and set them to corresponding values:

Environment variable names are AWS_ACCESS_KEY_ID and AWS_SECRET_ACCESS_KEY
Conclusion
If everything is configured properly then when you will run a test - it will first reserve the Selenium Grid url at Amazon and assign it to the profile (AWS Device Farm). Rapise will use this URL to connect to the browser.