Setup
First create or attach an existing spreadsheet to Rapise test.
Creating a New Spreadsheet
To create a spreadsheet right click the test node in the File tree and choose Create > Spreadsheet.

Specify spreadsheet name, format and click Create.
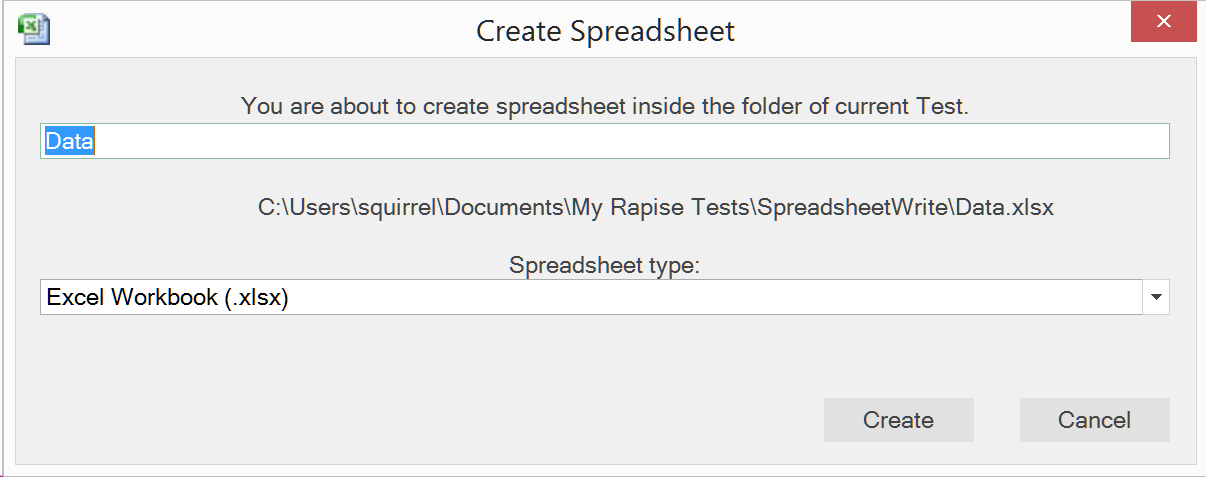
Three things will happen:
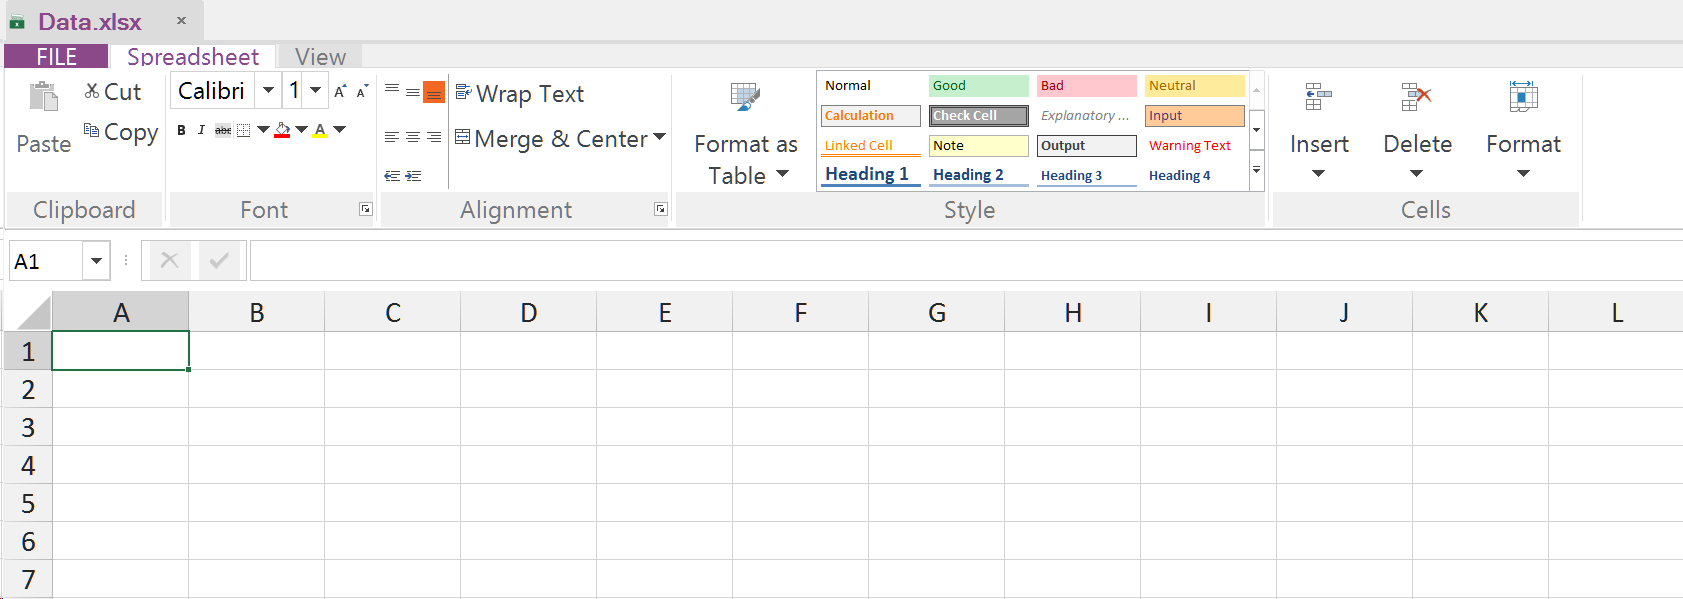
1. The spreadsheet will be created and opened for editing
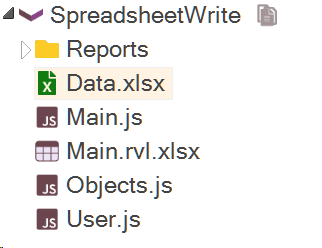
2. The spreadsheet will appear in the File tree
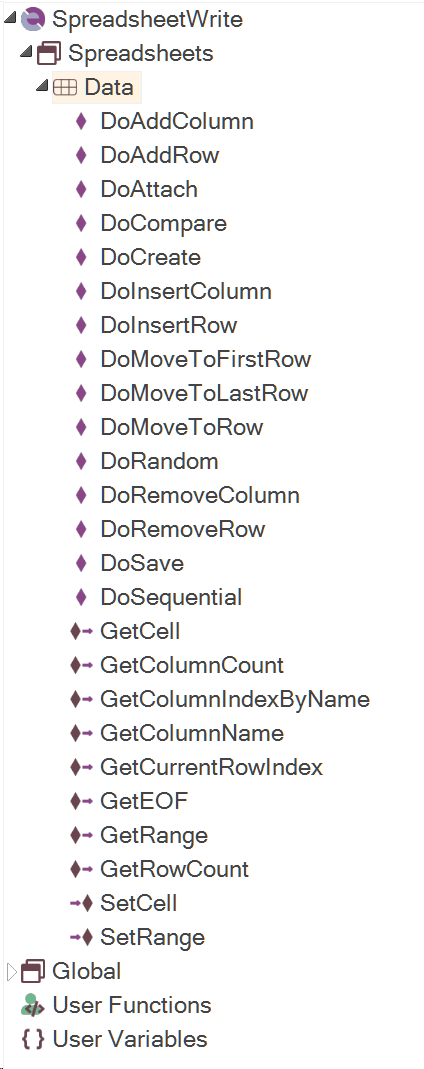
2. Spreadsheet object will appear in the Object tree
To finish with the setup specify column names in the spreadsheet
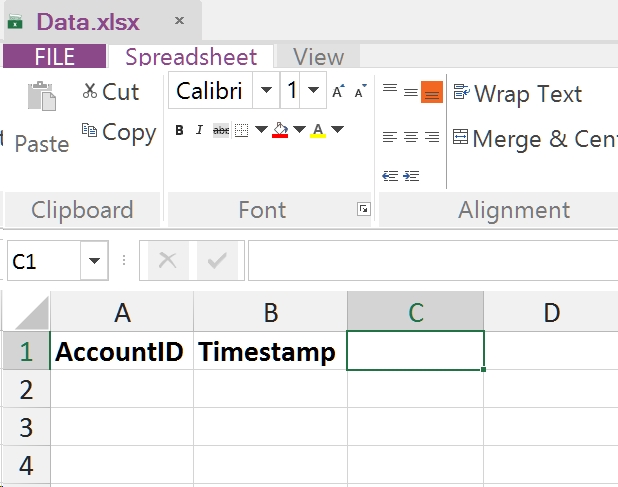
Adding an Existing Spreadsheet
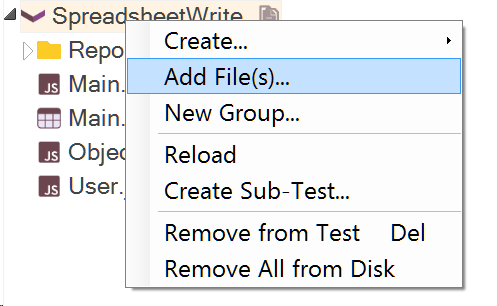
To add an existing spreadsheet right click the test node in the File tree and choose Add File(s).
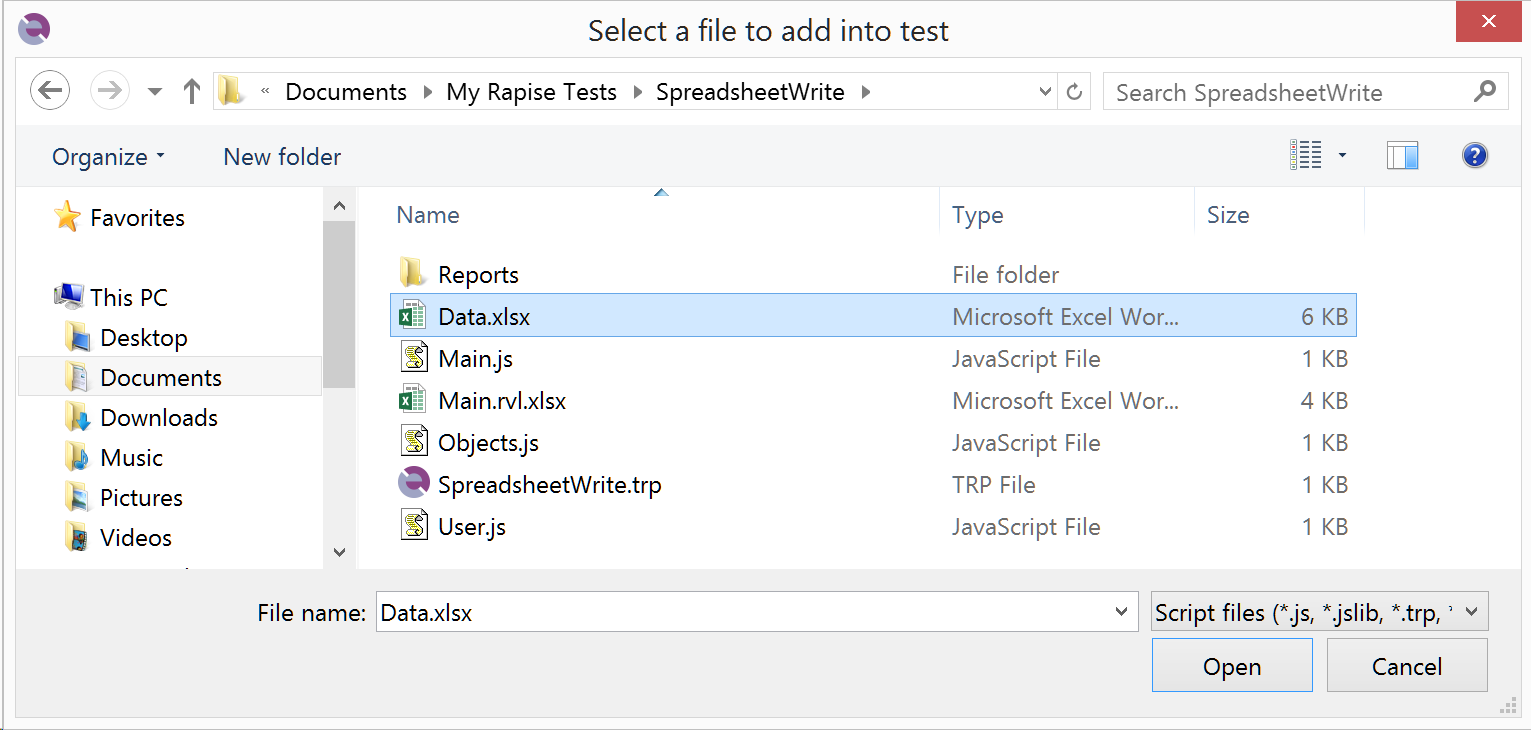
Locate the spreadsheet and click Open.
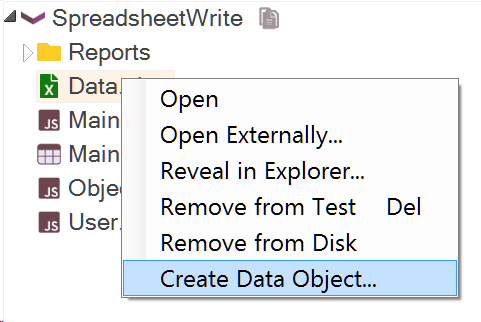
The spreadsheet will appear in the File tree

Right click it and choose Create Data Object.
Spreadsheet object will appear in the Object tree
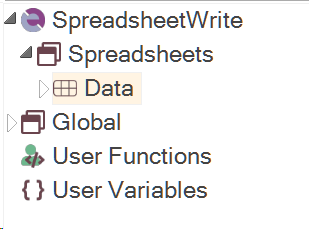
To open the spreadsheet for editing double click it in the File tree.
Spreadsheet Object
The spreadsheet object is bound to the Excel file and attaches to it automatically during playback.
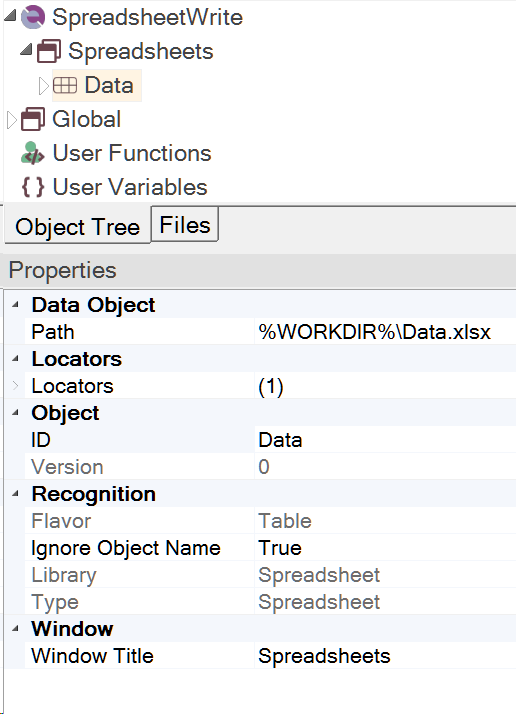
Writing Data
Now we can use spreadsheet object actions to write data.
RVL
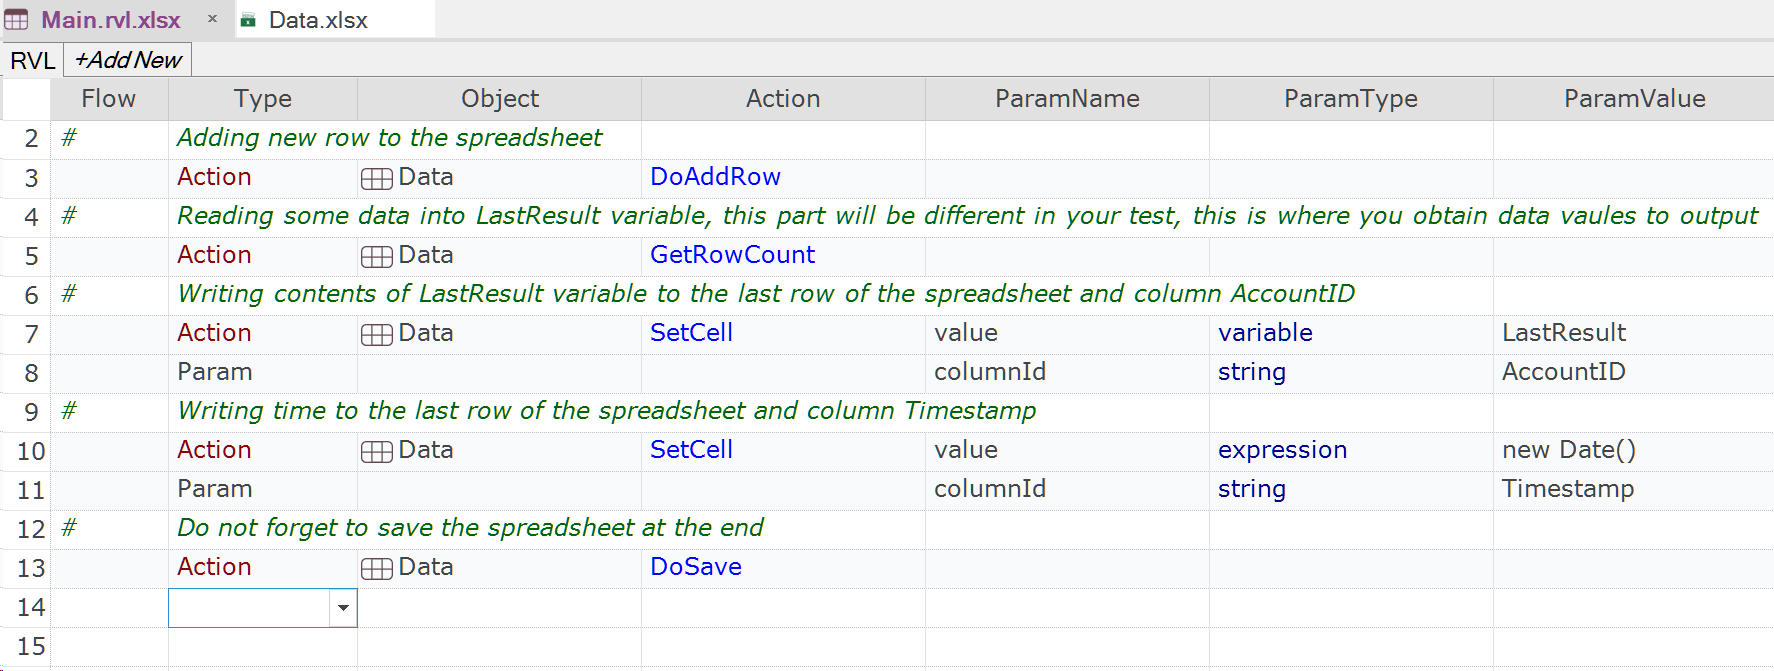
Note: columnId is an optional parameter of the SetCell action and won't be generated automatically when you select the action. You can manually choose it on the next line in ParamName column.

JavaScript
// Adding new row to the spreadsheet
SeS('Data').DoAddRow();

// Reading some data into LastResult variable, this part will be different in your test,
// this is where you obtain data vaules to output
SeS('Data').GetRowCount();

// Writing contents of LastResult variable to the last row of the spreadsheet and column AccountID
SeS('Data').SetCell(LastResult, "AccountID");

// Writing time to the last row of the spreadsheet and column Timestamp
SeS('Data').SetCell(new Date(), "Timestamp");

// Do not forget to save the spreadsheet at the end
SeS('Data').DoSave();