Same object may have two or more locators. Rapise will use them one-by-one to find a matching object.
For example, one locator may work in old version of application and another in new version.
Or first locator may work under Windows Vista, second may work on Windows 8 and third on Windows 10.
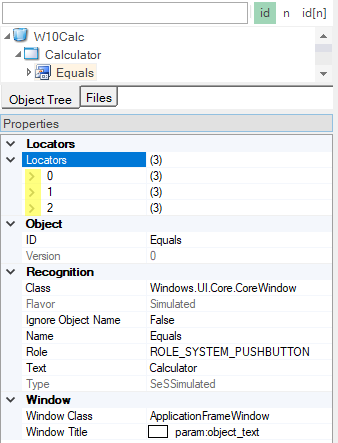
New locators may be added by the Clone feature:
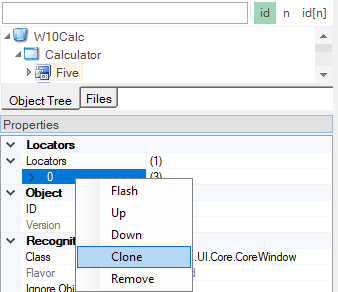
Each time after doing Clone you also need to Refresh the object tree.
Below you will find 3 examples: Web, Desktop and IAccessible.
Example - Web
Consider our demo web application www.libraryinformationsystem.org
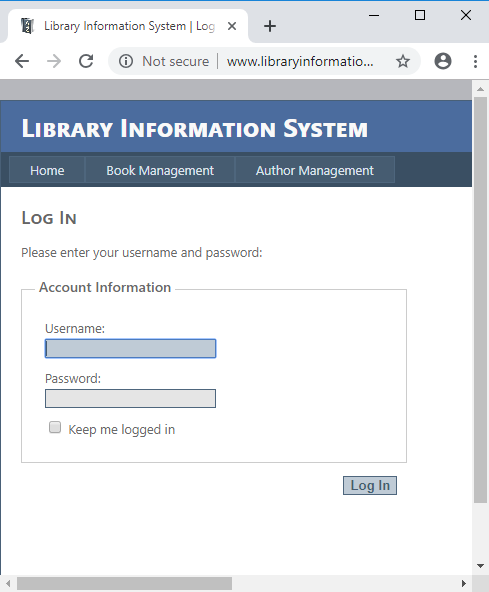
It has never version rewritten with React framework: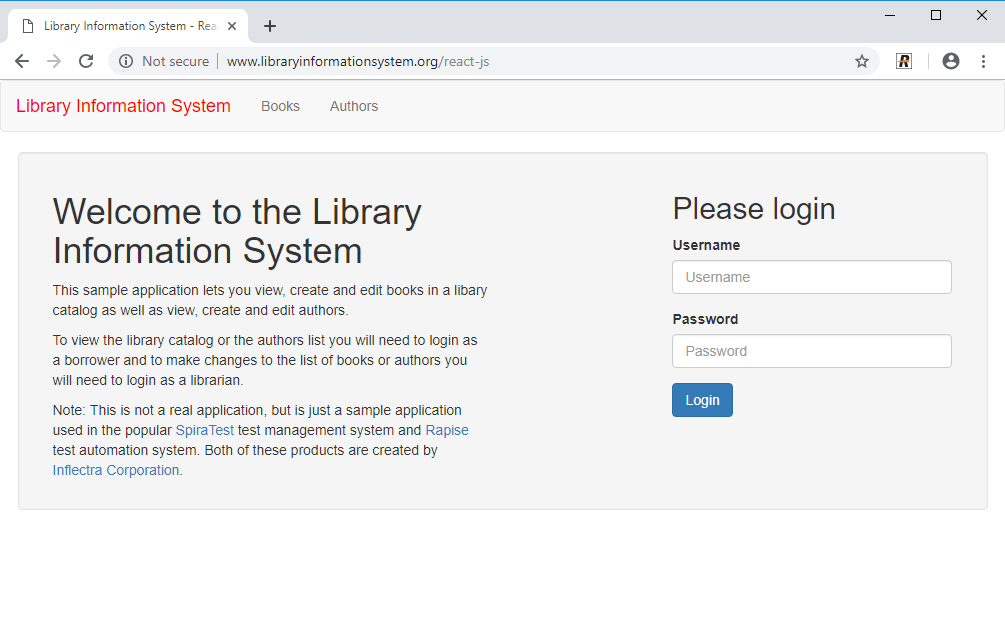
The script doing login interact with Username, Password and Log In objects. Let’s see the locator for the object Username_:
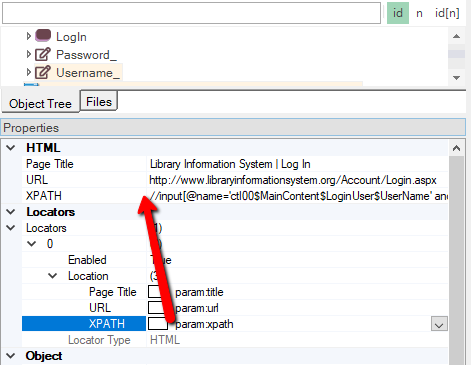
Note, that param:xpath is used by locator to refer to common locator parameters. Locator parameters are made to make object editing easier and more user friendly. Now we will need to use.
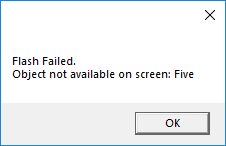
Switch to the new version of the application http://www.libraryinformationsystem.org/react-js and try to Flash. The object is not found with the given locator:
Now compare it for the learned locator for the same object in the React version of the application:
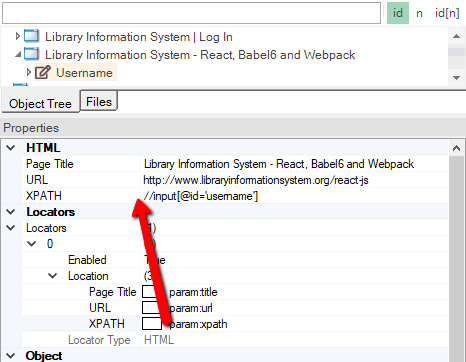
We see that the major difference is XPATH locator parameter:
//input[@name='ctl00$MainContent$LoginUser$UserName' and @id='MainContent_LoginUser_UserName']
vs
//input[@id='username']
Suppose we have a script doing login and what it to work in both versions of the application. So we are going to modify the Username_ object to have two locators each having its own XPath.
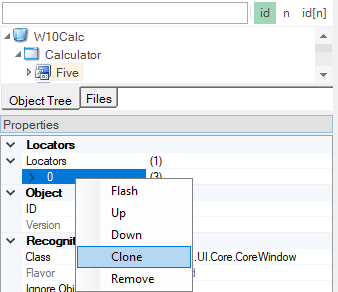
So we are doing Clone:
Refreshing the Object Tree:

And using each XPath in the relevant position:
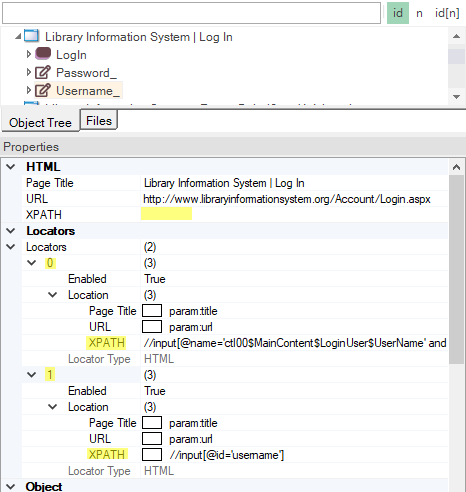
Now the object will flash successfully with each version of the application.
Example - Desktop
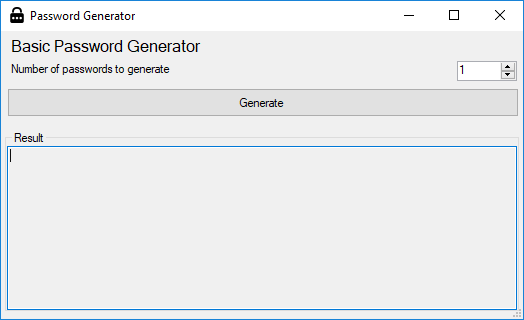
Here is a sample password generator application. It has very basic interface:
Eventually it was upgraded to more advanced interface:
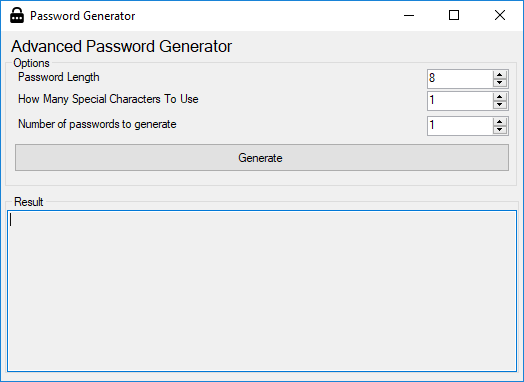
It has same functionality and controls as basic but adds some more optional features. We have a test set for the old interface. It would help if it also works with new one. It is useful, if the same test supports both older and newer version.
So here we will modify old objects to support multiple locators.
Here is the default locator for old Generate button:
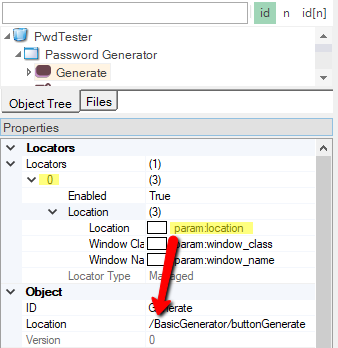
And this is for new Generate button:
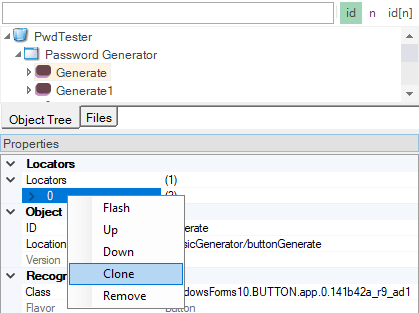
So we are cloning the old locator:
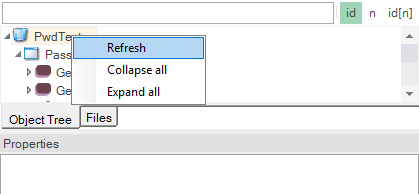
Refreshing:
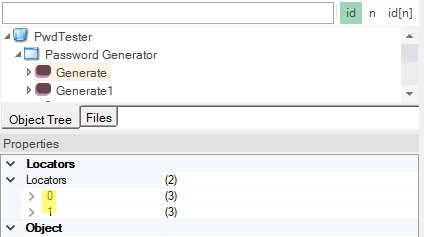
Now we have 2 locators:
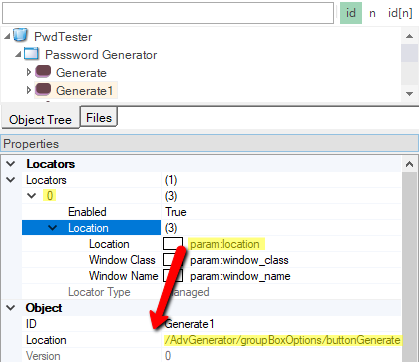
And just need to modify use corresponding locator paths:
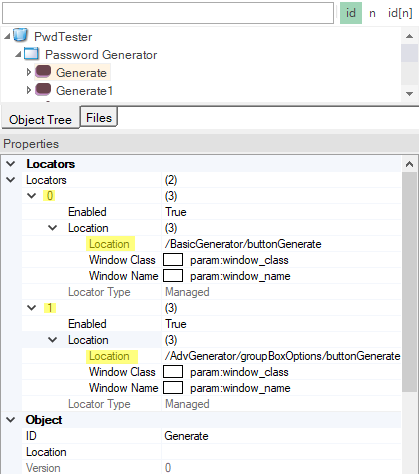
And we have Generate object that works with both versions of the application.
Example - IAccessible
Consider standard Calculator application on Windows 10.
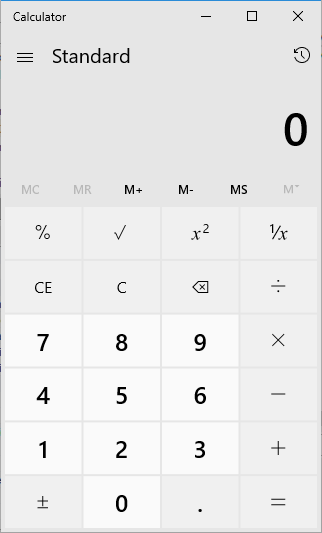
It has several display modes sharing similar controls. For example:
Standard Mode
Scientific Mode
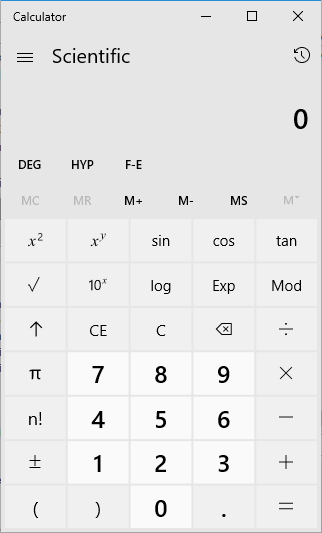
You may see that it has identical numpad available in both modes. Now let’s see how the button 5 is learned with Generic library (we use it here for demonstration only, default UIAutomation library works in both modes).
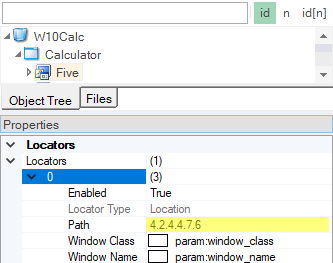
We switch calculator to Standard Mode and learn. The button learned with the following locator Path:
Let’s switch to Scientific Mode, learn 5 button again and check new locator Path:
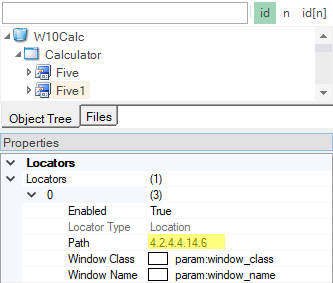
So we see that Path changes from 4.2.4.4.7.6 in standard mode to 4.2.4.4.14.6 scientific mode.
Suppose you have a common piece of script that should work in both cases.

So we are going to modify the object Five to have 2 locators. Rapise will try each of them one-by-one to locate an object.
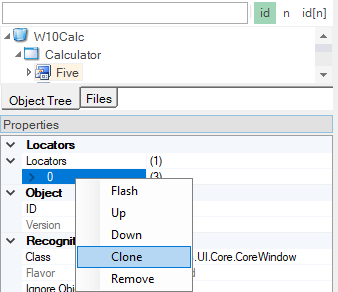
So in the context menu for the locator in Five we choose Clone to create a second locator:
Then you need to Refresh an object tree and select the same object again. This time it will have one more locator. Then modify 2nd locator to have Path for Scientific mode 4.2.4.4.14.6:
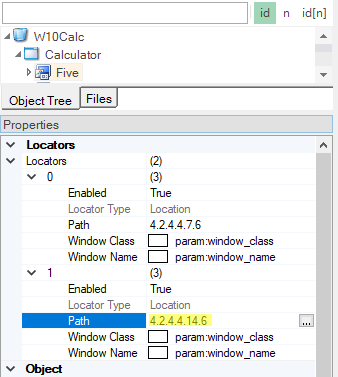
Now you can try to Flash this object in each calculator mode to make sure that it works in both cases.
See Also