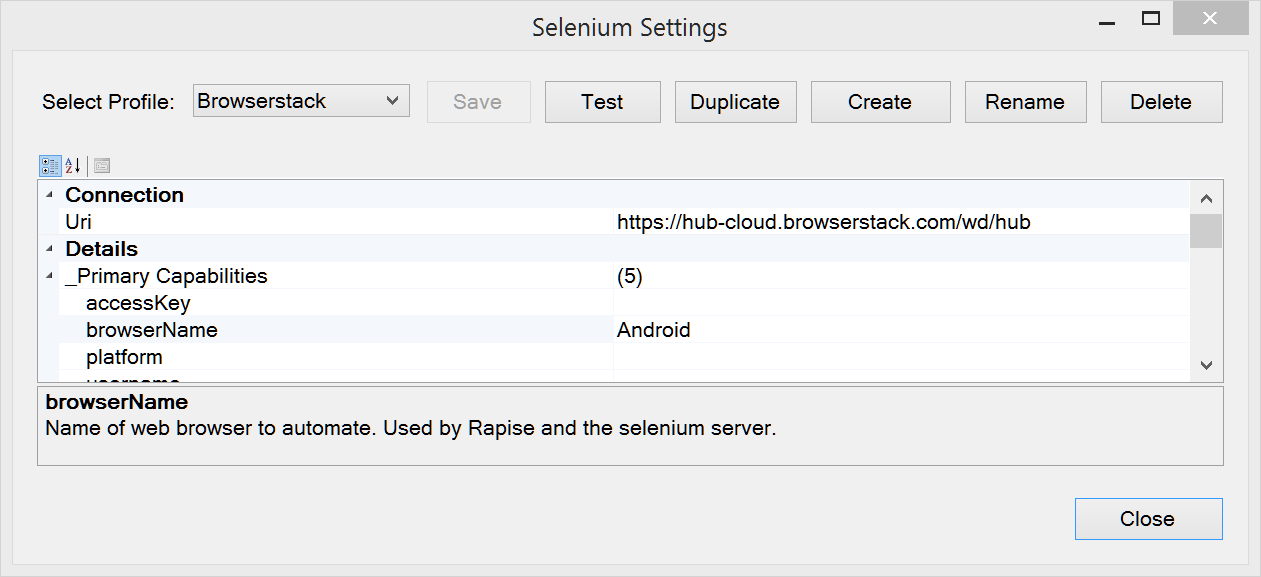
To enable running cross-browser tests on BrowserStack open Selenium Settings dialog (Ribbon > Options > Selenium Settings), choose the profile or create a new one and specify BrowserStack Url: https://hub-cloud.browserstack.com/wd/hub. Also specify browserName parameter.
Then in *.user.js file of your test specify additional capabilities required to connect to BrowserStack.
function GetWebDriverNonProfileCapabilities(profile)
{
    var caps = {};
    if (profile == "Browserstack")
    {
        caps["browserstack.user"] = "<user name>";
        caps["browserstack.key"] = "<access key>";
        caps["device"] = "Google Nexus 6";
        caps["realMobile"] = "true";
        caps["os_version"] = "6.0";
    }
    return caps;
}
This function receives the name of a configured profile and must return capabilities required to connect to a remote browser at BrowserStack.
Update: in Rapise 7.0 the callback has different structure:
function GetWebDriverNonProfileCapabilities(profile)
{
    var caps = {};

    if (profile.indexOf("Browserstack") != -1)
    {
        caps["bstack:options"] =
        {
            userName: "<user name>",
            accessKey: "<access key>",
            osVersion: "10.0",
            deviceName: "Samsung Galaxy S20",
            realMobile: true
        }
    }

    return caps;
}
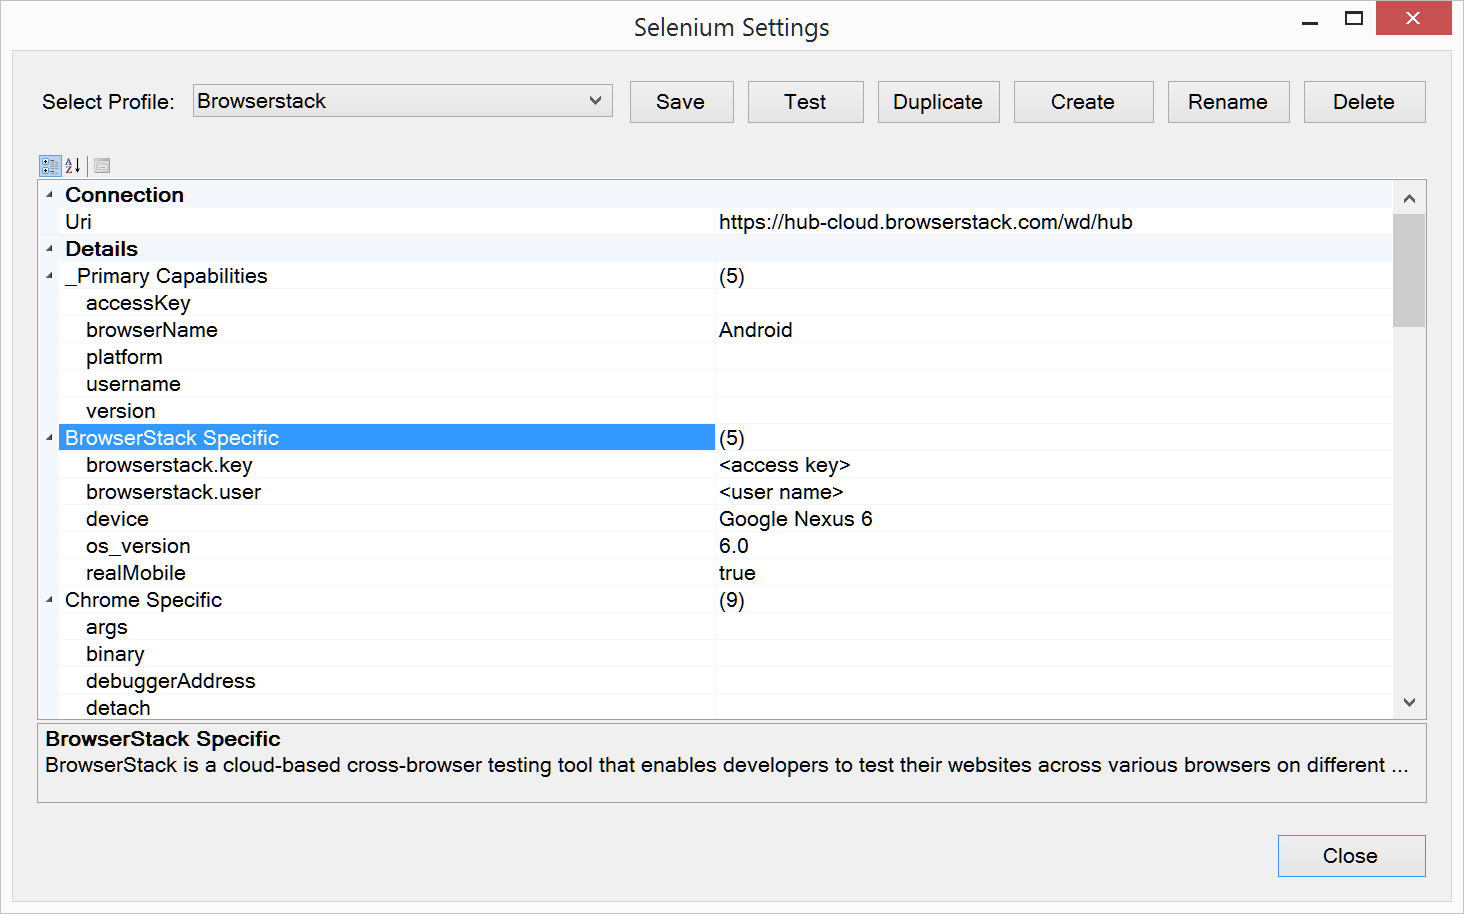
If you are on Rapise 5.6+ you do not need to implement the callback, specify necessary parameters right in the profile:
If everything is configured correctly Rapise will be able to connect to a browser target via Selenium WebDriver. You'll be able not only execute a cross-browser test but also analyze a web application using Web Spy.
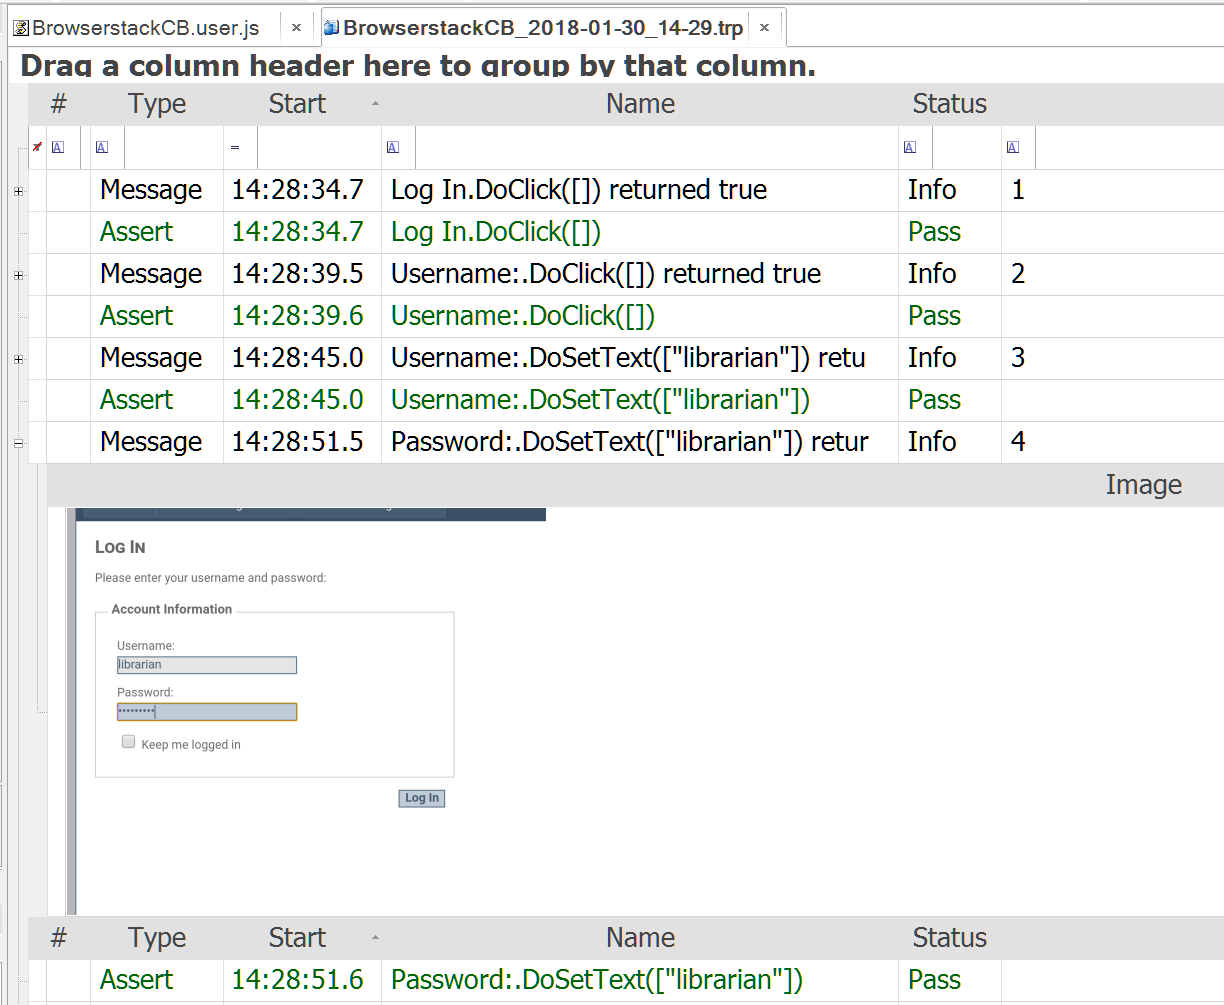
By running with screenshots enabled you are aware what happened on a device on each test step.