Create New Test
To test Dynamics 365 for Sales create tests with cross-browser methodology.
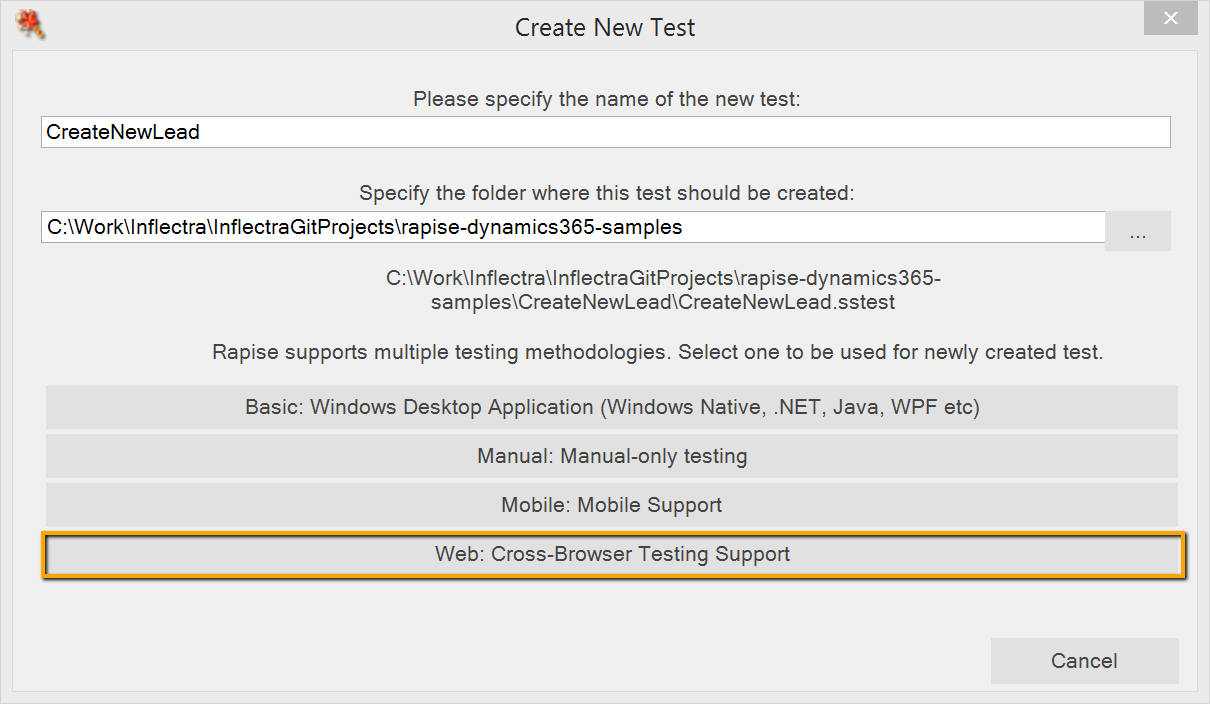
To record and playback you can use Internet Explorer, Firefox or Chrome. For Internet Explorer and Firefox no additional steps are required. To use Chrome read the next section, otherwise you may skip it.
Use Chrome for Recording and Playback
Note: If you use Selenium - Chrome profile then you may skip this section.
Dynamics 365 for Sales uses IFRAME elements for content panes and dialogs. To use Chrome browser one needs to launch it with specific parameters which will allow Rapise to cross borders between IFRAMEs.
--disable-gpu --disable-web-security --user-data-dir="c:\Users\<User>\AppData\Local\Google\Chrome\User Data"
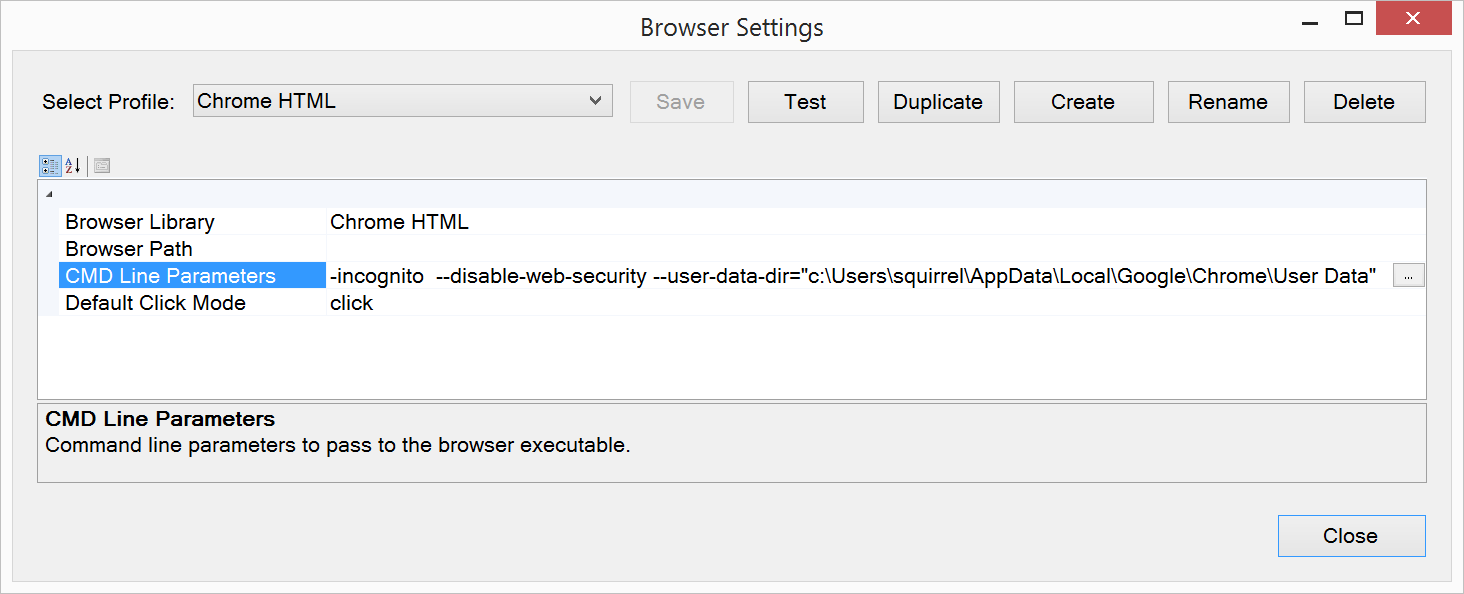
If you also want to start Chrome with a clean cache add --incognito parameter.
To start Chrome for recording create a simple CMD file with the following contents. Do not forget to replace <User> with your Windows user name.
"C:\Program Files (x86)\Google\Chrome\Application\chrome.exe" --remote-debugging-port=9222 --disable-gpu --disable-web-security --user-data-dir="c:\Users\<User>\AppData\Local\Google\Chrome\User Data"
To instruct Rapise to launch Chrome with required parameters add them to the profile (Ribbon > Options Tab > Web Testing Group > Browser Settings > Chrome HTML).
Recording Form Elements
Enter Text into Edit Field
To record entering text into edit fields follow these steps:
- Click on a field label

- Click on a field itself

- Enter text

- Press TAB to move focus out of the field

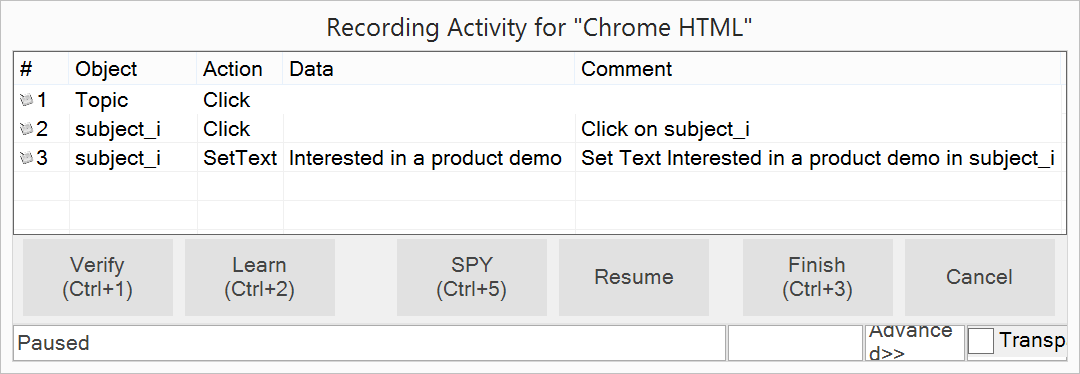
Recording for these steps looks like
Enter Value into Lookup Field
- Click on a field label
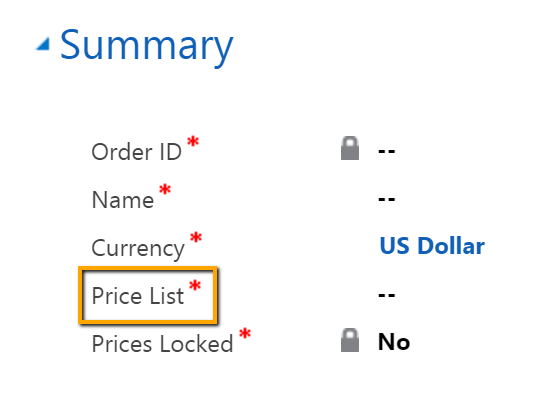
- Click on magnifier button
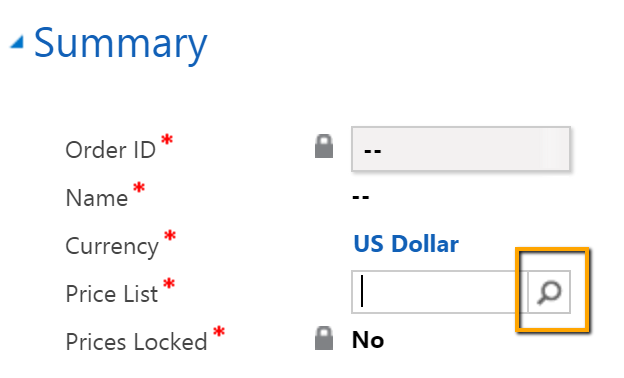
- Click on an item
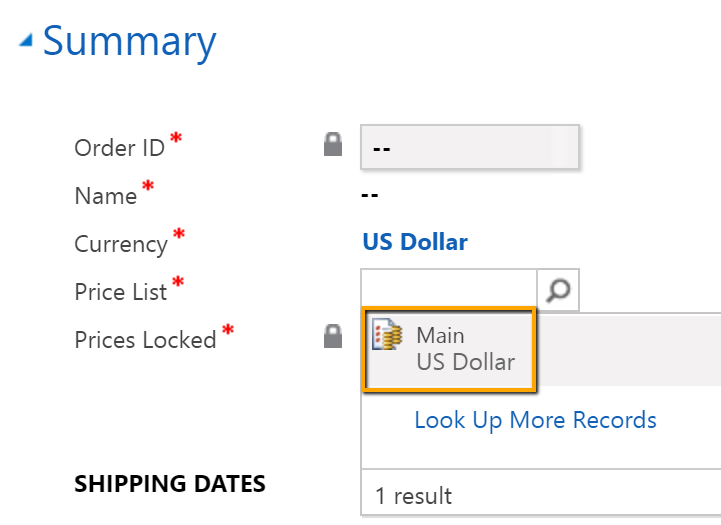
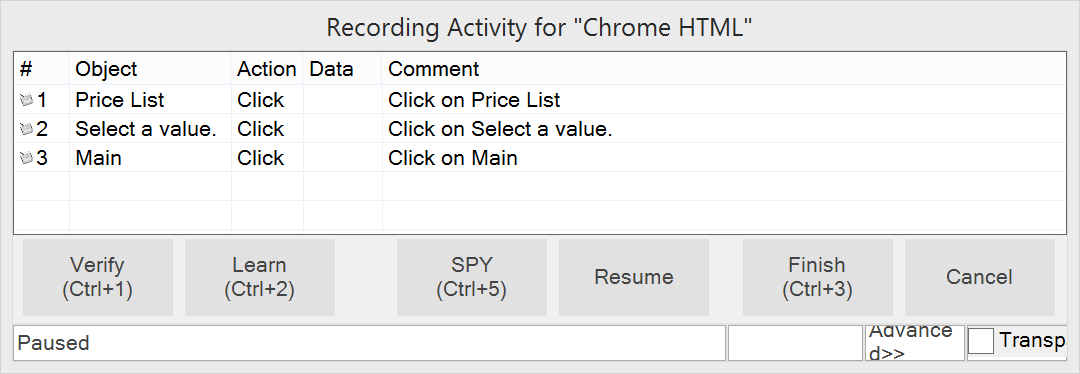
Recording for these steps looks like
Working with Grids/Tables
Rapise has special support for Dynamics 365 for Sales tables.

To enable it make sure that DomDynamicsCrm library is included into a test. The list of libraries in the main test file should look like:
g_load_libraries=["Web", "DomDynamicsCrm"];
To capture a table and add it to the object tree in Rapise place mouse over the table during recording and press Ctrl-2.
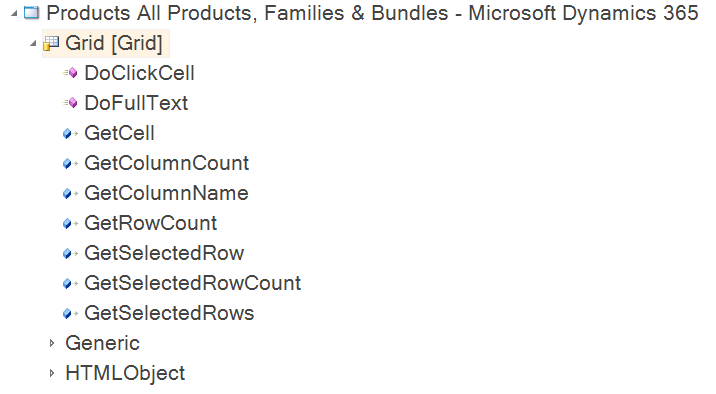
Using the actions provided by the grid object one can iterate through rows and cells in the grid. For example:
var grid = SeS('Grid');
var rowCount = grid.GetRowCount();
var columnIndex = 1;

for(var i = 0; i < rowCount; i++)
{
    var cellText = grid.GetCell(i, columnIndex);
    if (cellText == 'Potato')
    {
        grid.DoClickCell(i, columnIndex);
        break;
    }
}
Detailed reference of grid actions and properties is available in the docs.
Wait for Object
When test steps result in a page load and you want to make sure that a particular object is displayed on screen before proceeding use Global.DoWaitFor action.
Global.DoWaitFor("topic");
By default it will be checking for object presence during 30 seconds. Once object is found execution of a test is resumed. For bigger timeout pass second argument to the action, it is an integer value in milliseconds.
Dynamics XPATHs or What to Do if an Object is Not Found During Playback
Sometimes recorded locators of elements (xpath expressions) need to be manually modified. It happens when xpath of an element contains dynamic parts. For example:
/html/body/div[6]/div[@id='crmContentPanel']/iframe[@name='contentIFrame1' and @id='contentIFrame1']@@@/html/body/div[@id='Dialog_pricelevelid_IMenu']/div[2]/ul[@id='pricelevelid_IMenu']/li[@id='item26']/a[2]
In this case item26 is a generated id that may be different each time you run a test. So Rapise may not find the object. If we want to select a particular value (e.g. Main) we may change the xpath this way:
//iframe[@id='contentIFrame1']@@@//div[@id='Dialog_pricelevelid_IMenu']//a[@title='Main']
It is also optimized to be more concise and resilient. @@@ is a special delimiter recognized by Rapise that indicates frame borders.
How to Use Spy
Rapise has a powerful Spy that may help to calculate the best possible xpath expression for an element.
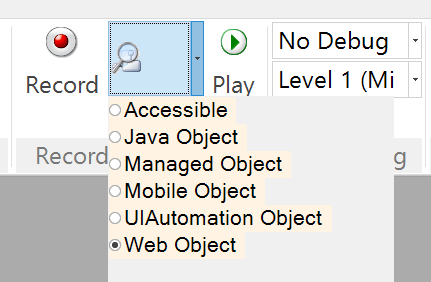
Launch Spy from the ribbon. Make sure its mode is set to Web Object.
When DOM tree is loaded press Ctrl-T to enter tracking mode. Place mouse pointer over a web element and press Ctrl-T again. The Spy will reveal the element in the DOM tree. Then you can optimize its xpath and add to the object tree of your test.
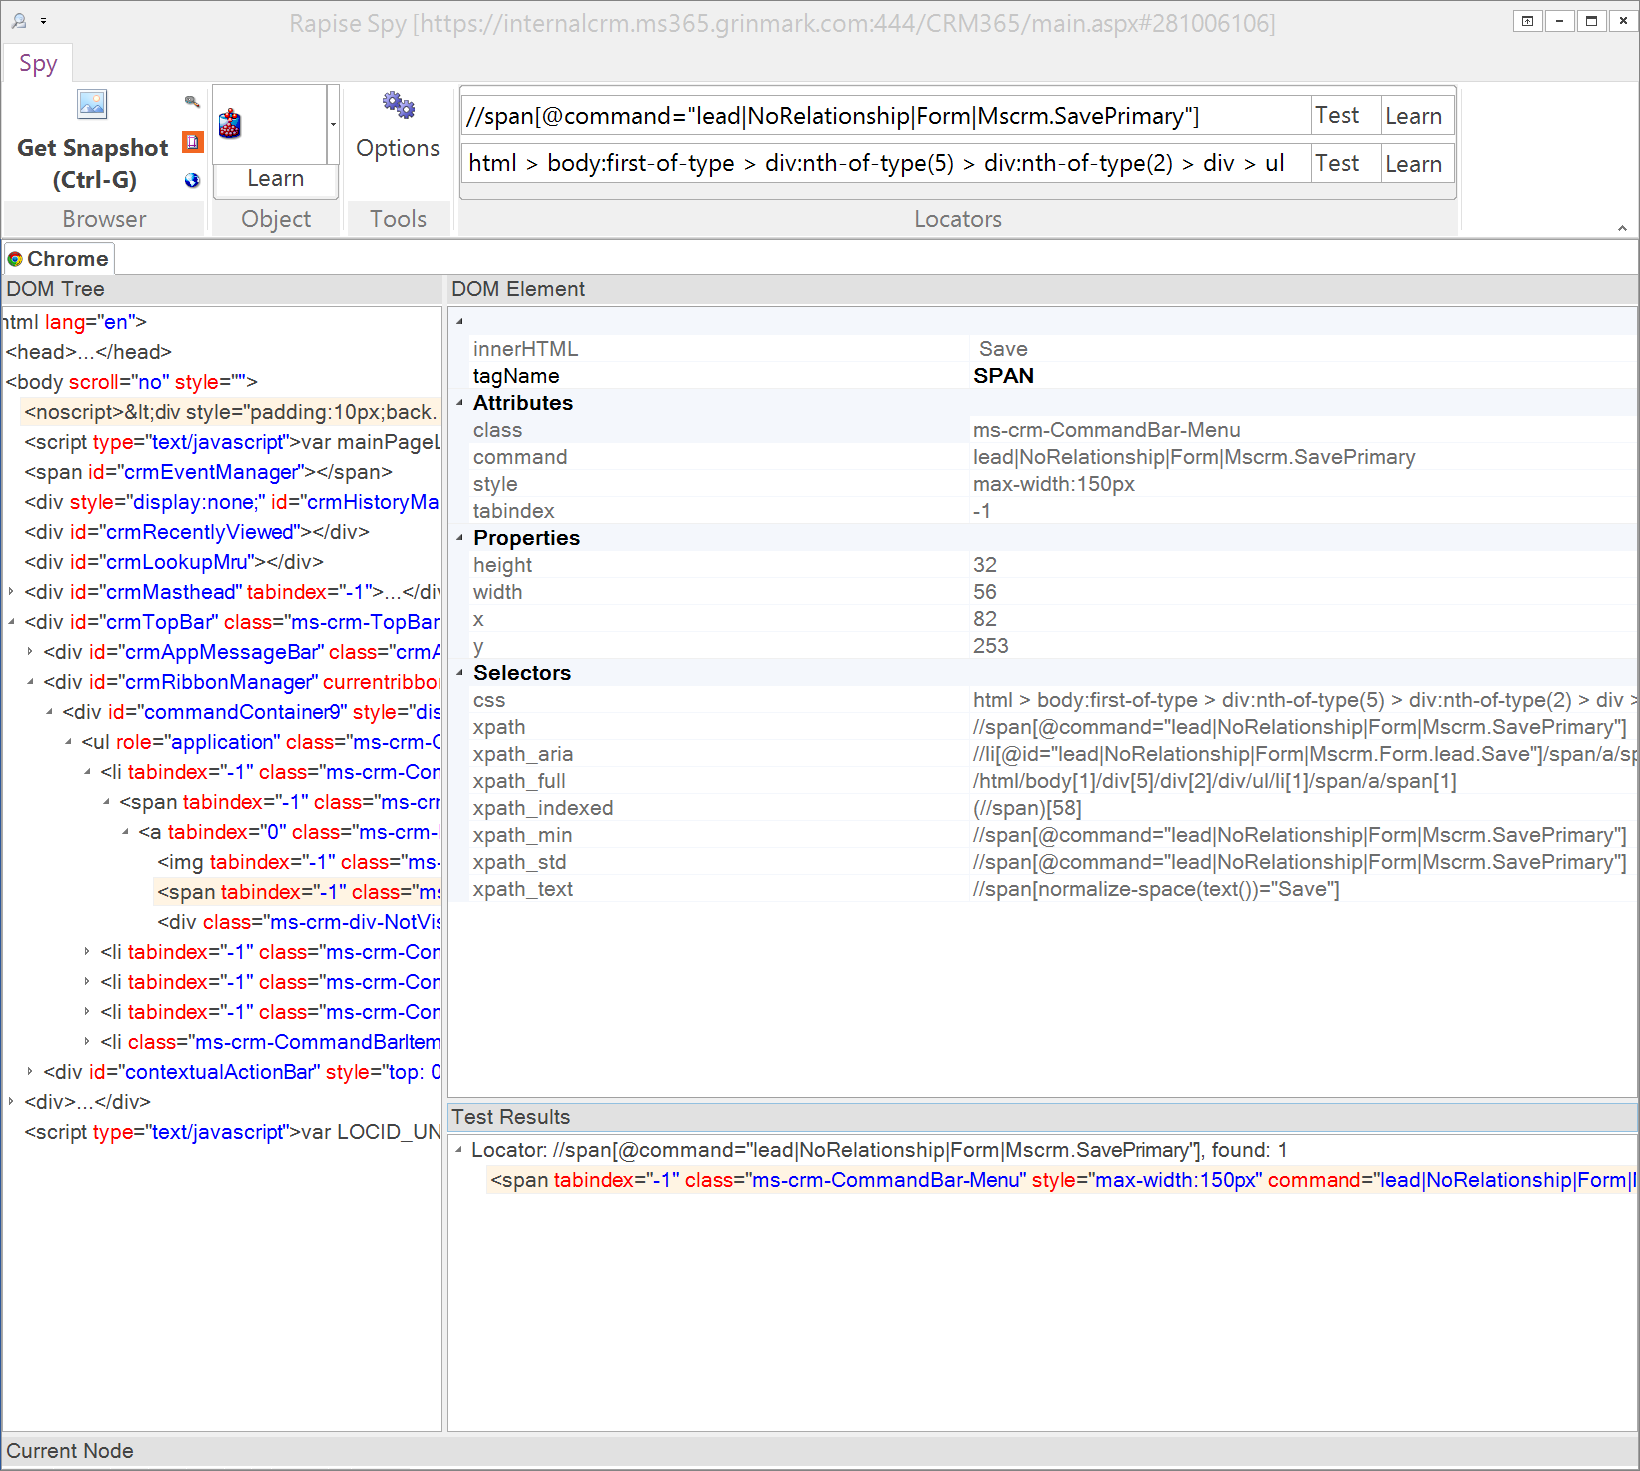
To put xpath of an element to the ribbon of the Spy - select the element in the DOM tree and double click it. To test xpath press Test XPath button on the ribbon. Use Learn button on the ribbon to add an object with the given xpath to the object tree of the test.