Java Bridge Installation
Unlike testing web or Windows applications, you need to install a special connector to test applications that use Java AWT or Swing GUI libraries. This is called the Java Bridge.
To install the Java Bridge you need to click on the Options ribbon and click on Java Settings. On older versions of Rapise (pre v5.0) it will be found in the Settings > Options > Tools > Java Settings menu. That brings up the Java bridge installation dialog box: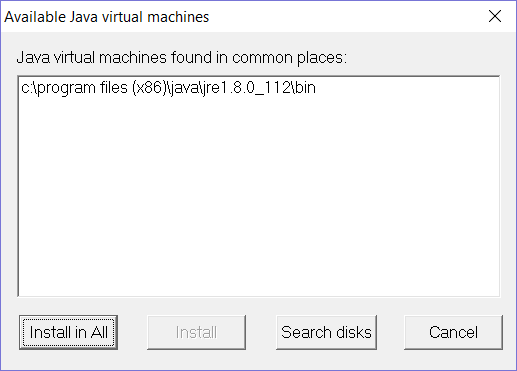
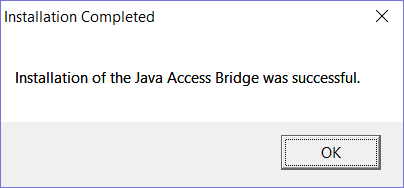
Select the various VMs listed that you will be using and click the Install button. It will display the following message if successful:
Verifying that the bridge is Installed
To verify that the bridge installed correctly, check that the following files have been installed inside your Java VM (typically found at C:\Program Files (x86)\Java\jre1.x.x_xxx):
-
- lib\accessibility.properties
-
- lib\ext\jaccess.jar
-
- lib\ext\smartestudio-bridge.jar
If you don't see all three of these files then it means the bridge was not installed correctly.
If that happens, don't worry, simply download the JavaBridgeFiles.zip compressed folder attached to this article and manually extract the files into the lib folder of your Java VM installation.
Special JDK Versions
For some versions of Java (i.e. LibericaJDK) an automatic bridge installation is not working. Please, use the command line to launch your application properly instrumented as it is described here:
https://rapisedoc.inflectra.com/Guide/java_awt_swing_testing/#changing-the-command-line
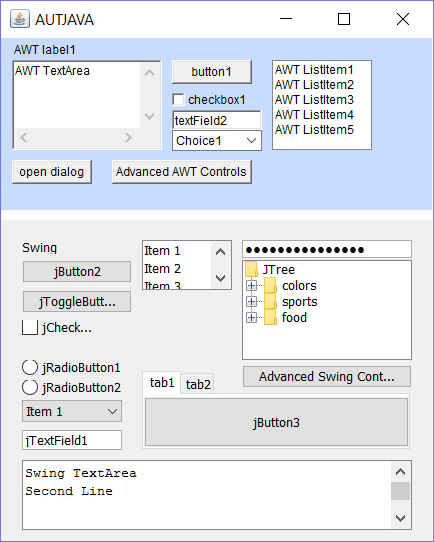
Using the Sample Application (AUTJava)
To help you make sure that your environment is correctly setup and also to help you try out Rapise, we have a sample application called AUTJava (AUT = Application Under Test) that can be found in the folder: C:\Users\Public\Documents\Rapise\Samples\Java\AUTJAVA
To run the application, right-click on the x86run.cmd file and choose Run as Administrator.
If the application doesn't appear correctly then you may need to set the JAVA_HOME environment variable.
To do this, open up the Windows control panel and choose System > Advanced System Settings: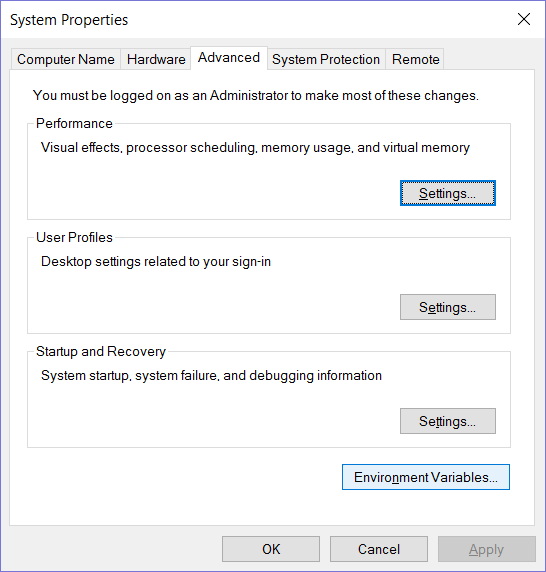
Click on the Environment Variables button: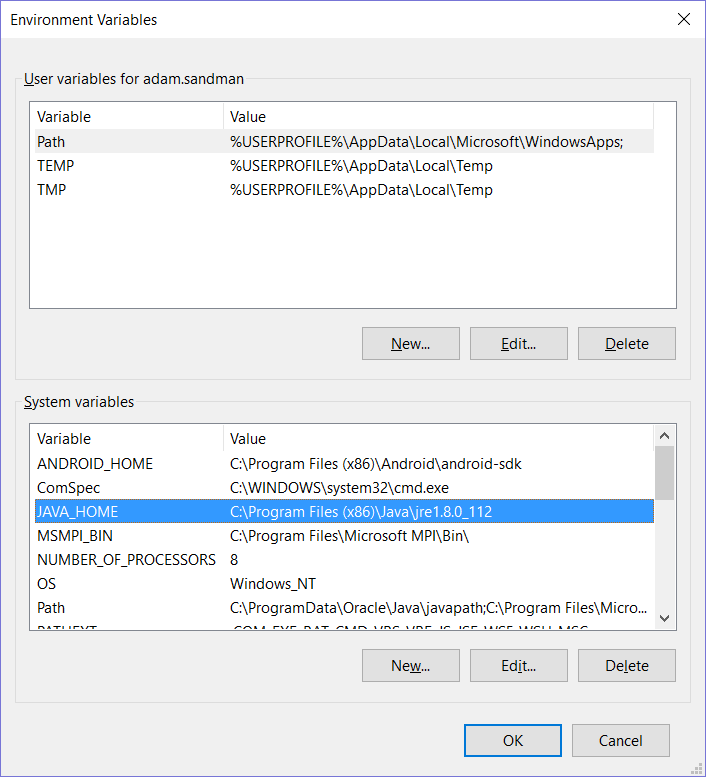
Click on the option to add a System Variable and then add the following:
Variable = JAVA_HOME
Value = C:\Program Files (x86)\Java\jre1.x.x_xxx
(you will need to match the location of your actual Java VM)
Now you should be able to launch the AUTJava sample application.
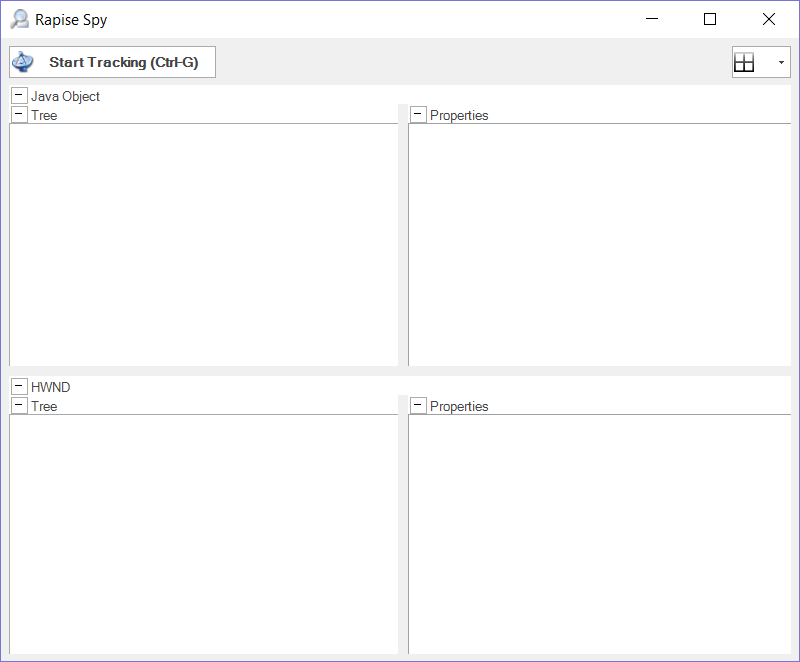
To verify that Rapise is configured correctly, click on the SPY menu in Rapise and choose Java Spy.
Then click on the main Spy icon and the Java Spy will start up:
Click the CTRL+G button combination to start tracking and then move the mouse over one of the buttons in the sample application and click CTRL+G again.
You should see the following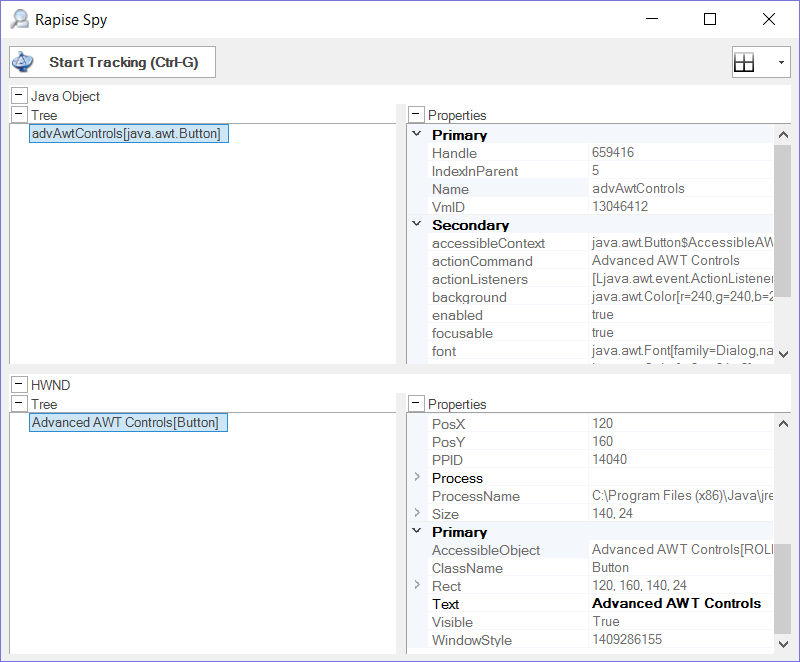
Which shows that Rapise is able to see the AWT button (in this example) and its properties.
However if you see the following instead: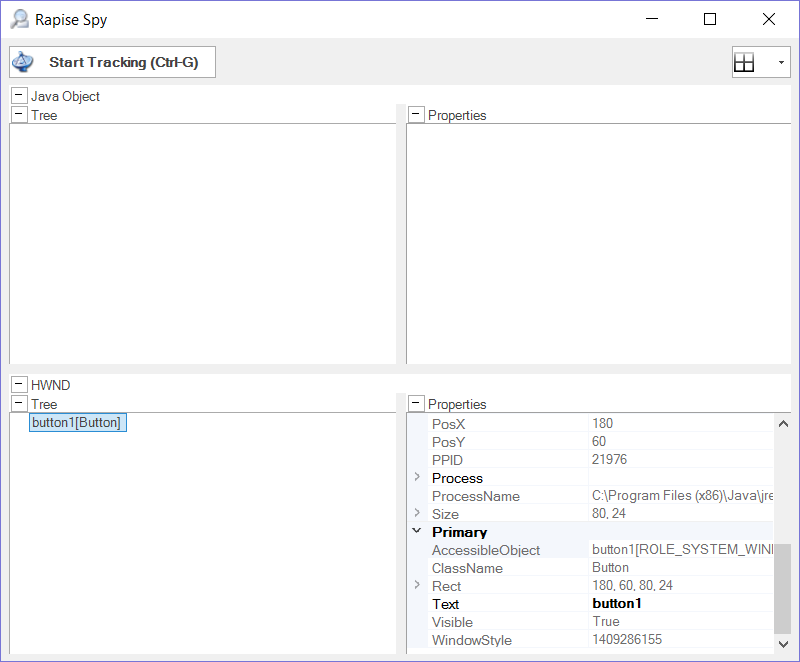
it means that you didn't run the sample application using "Run as Administrator", close the application and try again using "Run as Administrator" and you will see:
You are now ready to start testing your real application. Make sure to also start it using "Run as Administrator".